By Brianne Dela Cruz; Gather & Grow
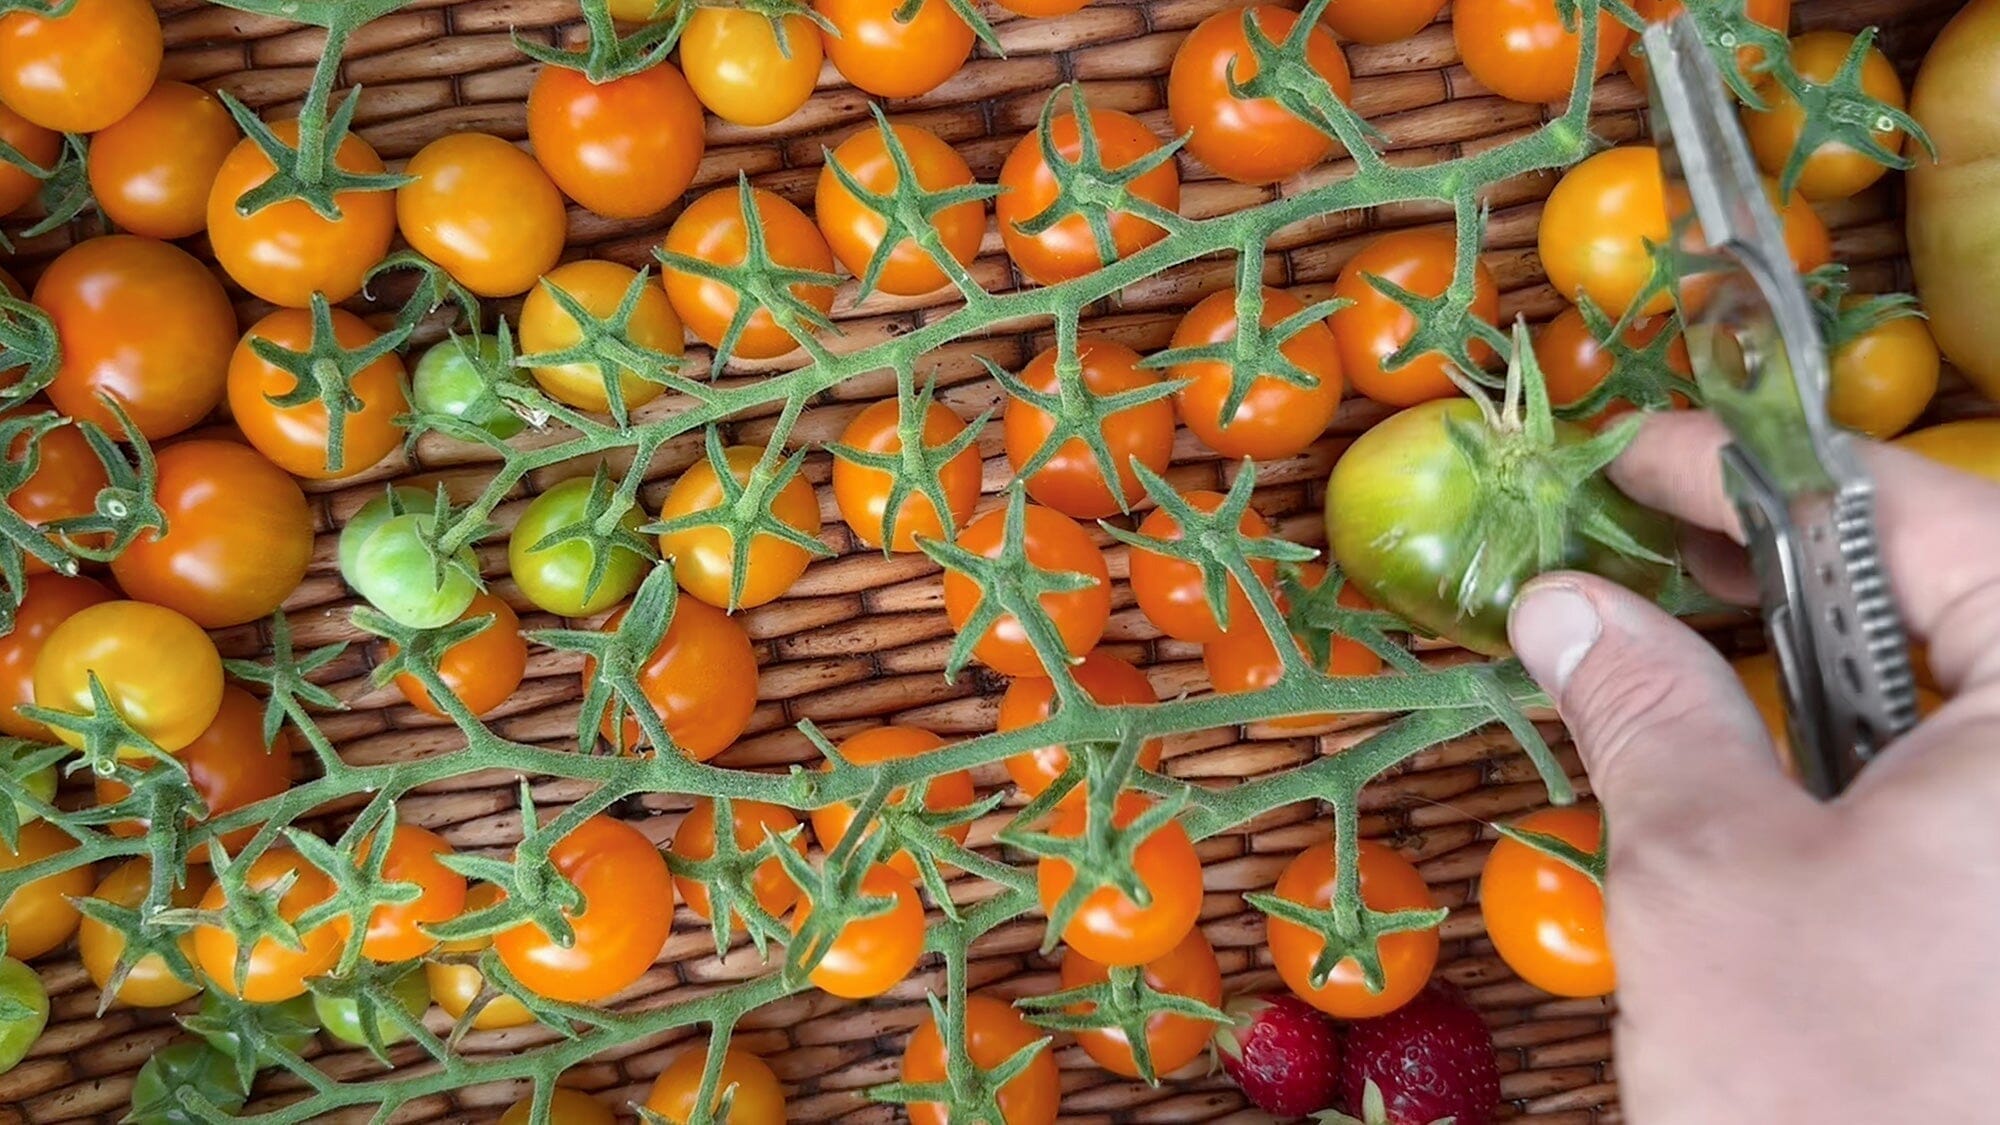
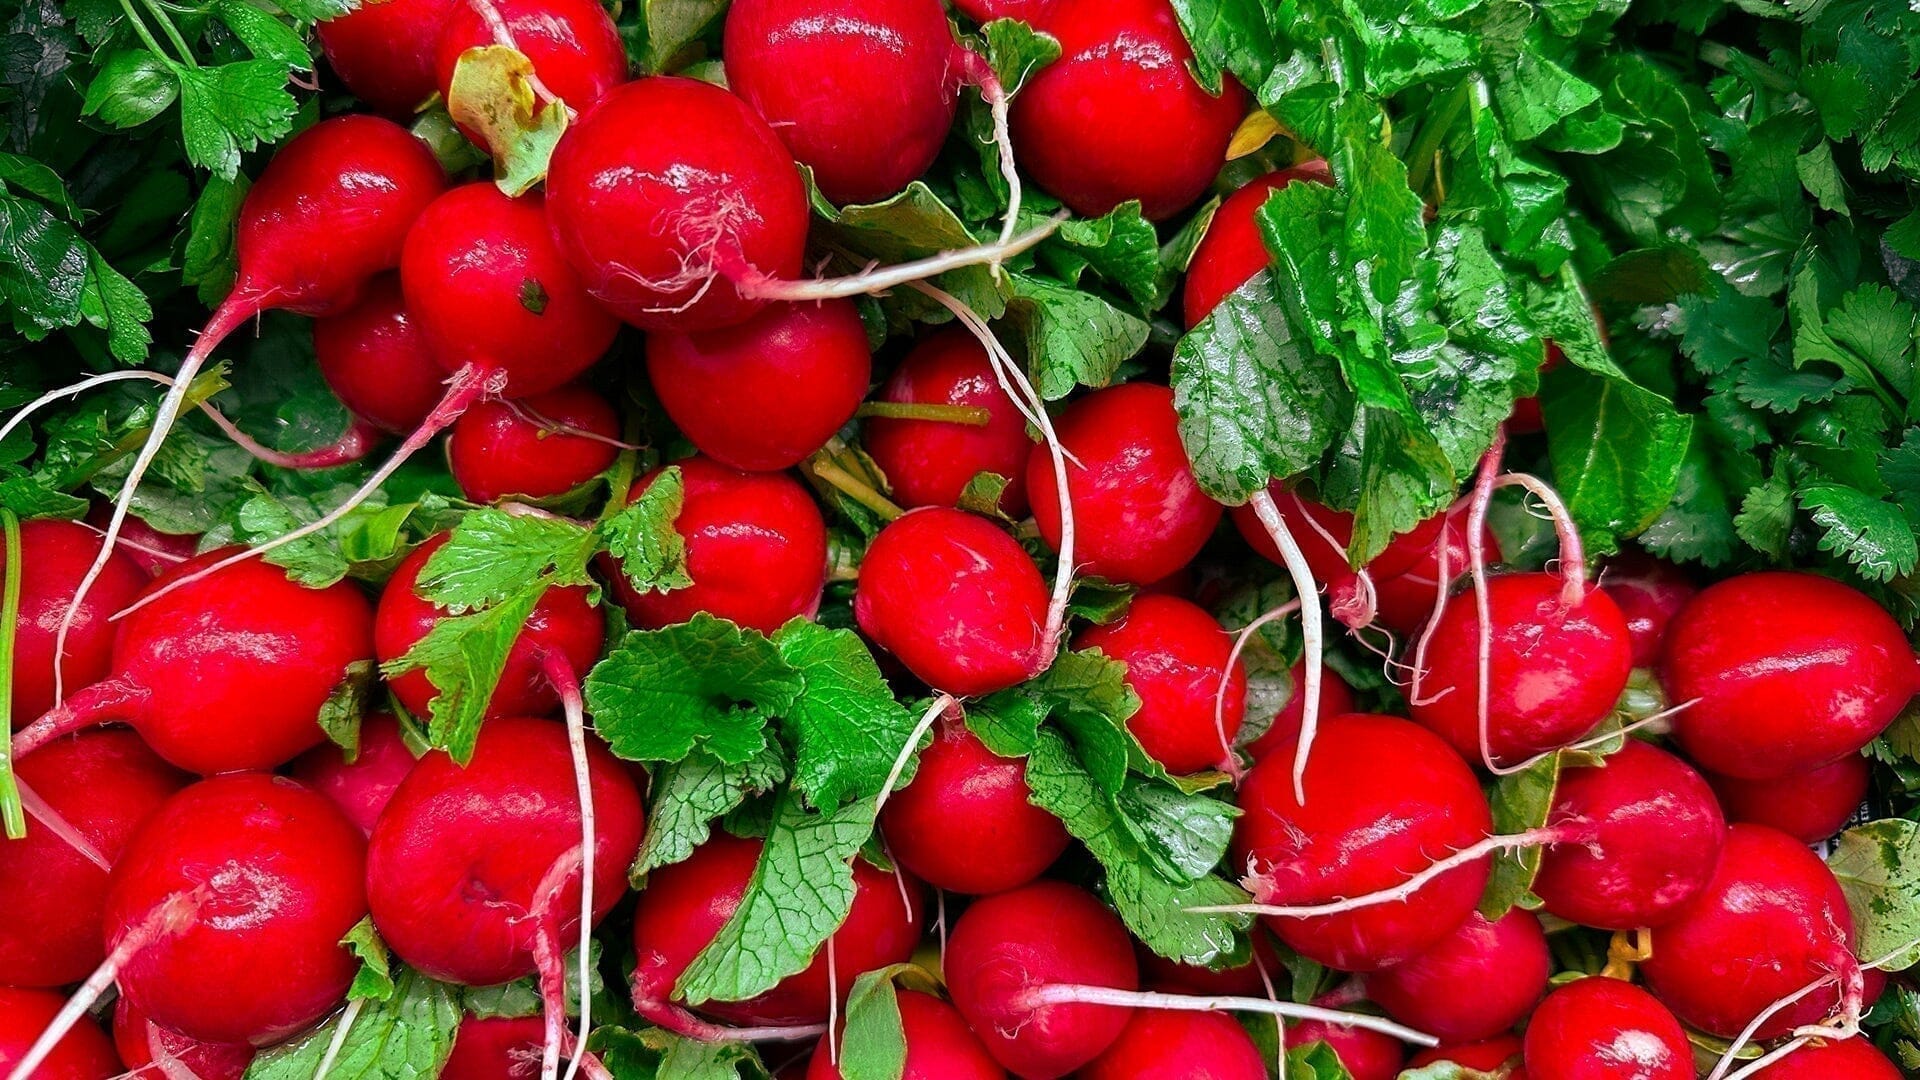
Each variety of greens I brought home became celebrated in their own way through the meals we cooked. Chervil greens were quickly turned into chimichurri and pesto sauces that flavored our meats and seafood. Sunflower shoots, in all their buttery-crunchy goodness, were turned into a bed of greens that we dressed with runny huevos rancheros for breakfast. Purple radish greens elevated our tuna sandwiches to a level of decadence that is impossible to replicate without them. The microgreens were such a delicious treat that we eagerly phased out bland grocery store lettuce and learned how to use those delicate little greens in nearly every dish. Since that summer my family agrees that eating greens isn’t nearly as fun when microgreens aren’t on the plate.
Learning how to grow microgreens has become an invaluable skill that I am proud to practice and share with others. As a gardener and home-grown-foodie, I firmly believe that everyone needs to know how to grow and use microgreens in their daily life. So, I’m sharing all my pro-intel on how to grow your own market-quality microgreens at home. Try it for yourself and thank me later.
Supplies Needed to Grow Microgreens at Home
- Solid 10” x 20” tray
- 10” x 20” tray with drainage holes
- LED grow light
- Water mister
- Soil
- Dry fertilizer
- Cultivator
- Microgreen seeds
- Harvesting scissors
Step by Step Guide
to Growing Your Own Mircrogreens
-

Step 1: Fill the tray with soil.
Stack the tray with drainage holes inside the solid tray, then fill it with 1-2” of soil. Add dry fertilizer then moisten with water. Gently pat to flatten the soil. It should be firm but not compacted.This creates a solid surface for seeds to land on and root into during the seeding and germination process.
Step 2: Sow the seeds.
Evenly spread the seeds over the soil until most of the soil is covered. Make sure there aren’t large empty areas, nor spaces where seeds are densely packed. Gently press the seeds into the soil, but don’t crush them in. The more seeds on the soil, the denser the crop will be. Larger seeds tend to get better germination rates when they are soaked in water for 6-8 hours prior to sowing.
Step 3: Thoroughly mist seeds with water.
Then induce a black-out period for a few days, by placing a tray over the top.
Step 4: Uncover and mist the soil 1-2 times per day.
Remove the cover permanently when you can see the sprouts have taken root. Place them under the grow lights so they can photosynthesize and grow.
Microgreens typically take about 1-4 weeks to grow to harvesting size, depending on the plant variety. In order for microgreens to grow well through these weeks and not succumb to mold or wilting they need to have the right amount of light, water, humidity, and heat.
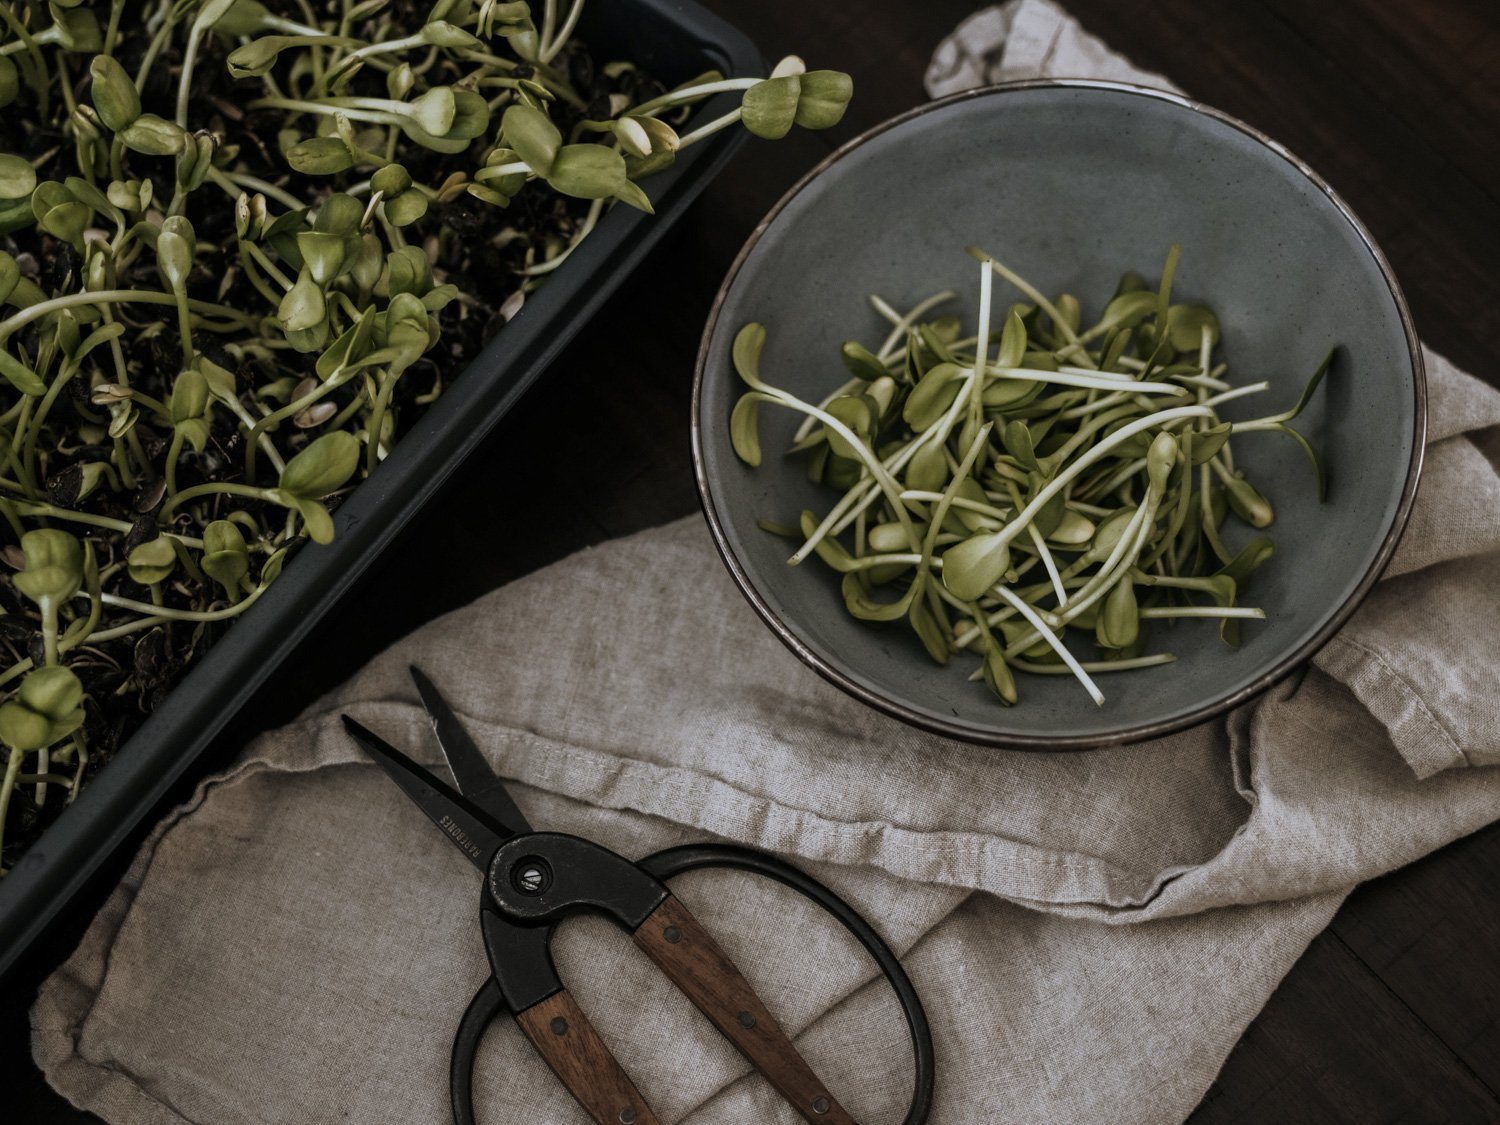
Step 5: Harvest the microgreens when they're about 2-3” tall.
To harvest microgreens, gently grab a cluster of the leaf tops with your finger tips and cut the base of the stem with sharp scissors. Once you cut them they wont grow back, so if you want more microgreens you’ll need to start the growing process over again from the beginning. If you choose to grow again don’t reuse the soil because it can easily spread soil-borne diseases. It’s best to compost the soil and begin again with a fresh batch. Enjoy your freshly cut microgreens right away and store the extra in a sealed container for up to one week.

Common Questions
About Microgreens
How much light do microgreens need?
Microgreens need 6-8 hours of light each day. Many home growers try to use natural sunlight as their light source. This can work if the greens are placed in a window that receives direct sunlight for at least 6 hours a day. For most of us, even our most sunny windows wont get the job done. To grow high-quality microgreens, place a grow light about 3-5” from the greens and leave it on for at least 6-8 hours each day beginning after the blackout period, until they are ready for harvest.
How much water do microgreens need?
Mist the seeds every day when they’re in the germination phase, which is until they develop their first leaves. Once the stems and first two leaves develop, begin watering the microgreens once a day at their root level by pouring a little water in the lower tray. Some varieties of microgreens, like peas and radish, require water to be pooled in the lower tray because they drink a lot. More sensitive varieties like amaranth, chervil, and sorrel will suffer from so much water and only need a light watering in the lower tray. If your seed packet doesn’t indicate the plant’s watering needs then water conservatively at first and increase the amount of water if the greens begin to wilt.
What are the best temperatures and humidity levels for microgreens?
Microgreens are sensitive to their environment because they are young plant seedlings. Problems can arise if the temperature and humidity levels aren’t ideal, which can lead to sick or dead plants. Microgreens grow best at 65-70 degrees and 40-60% humidity. Creating this environment at home will depend on your climate; the kitchen is often the most humid place in the home and the garage or underground basement is the most cool. To create a stable environment consider adding a dehumidifier or a humidifier.
Learn more about mircogreens >>>
ABOUT
Brianne Dela Cruz is a master gardener, wild forager, campfire foodie, and acclaimed writer and photographer. From her home in Salt Lake City, she teaches online gardening and foraging courses for modern folks and budding naturalists as well as hosts seasonal community gatherings. Brianne's blog and online school, Gather & Grow, is a community of folks exploring the intersection between nature and personal growth by discovering ways to slow down and nourish themselves with nature.