While the actual origins of egg dying around springtime are unknown, it has been a tradition for over a century, and many look forward to it every Easter and spring.
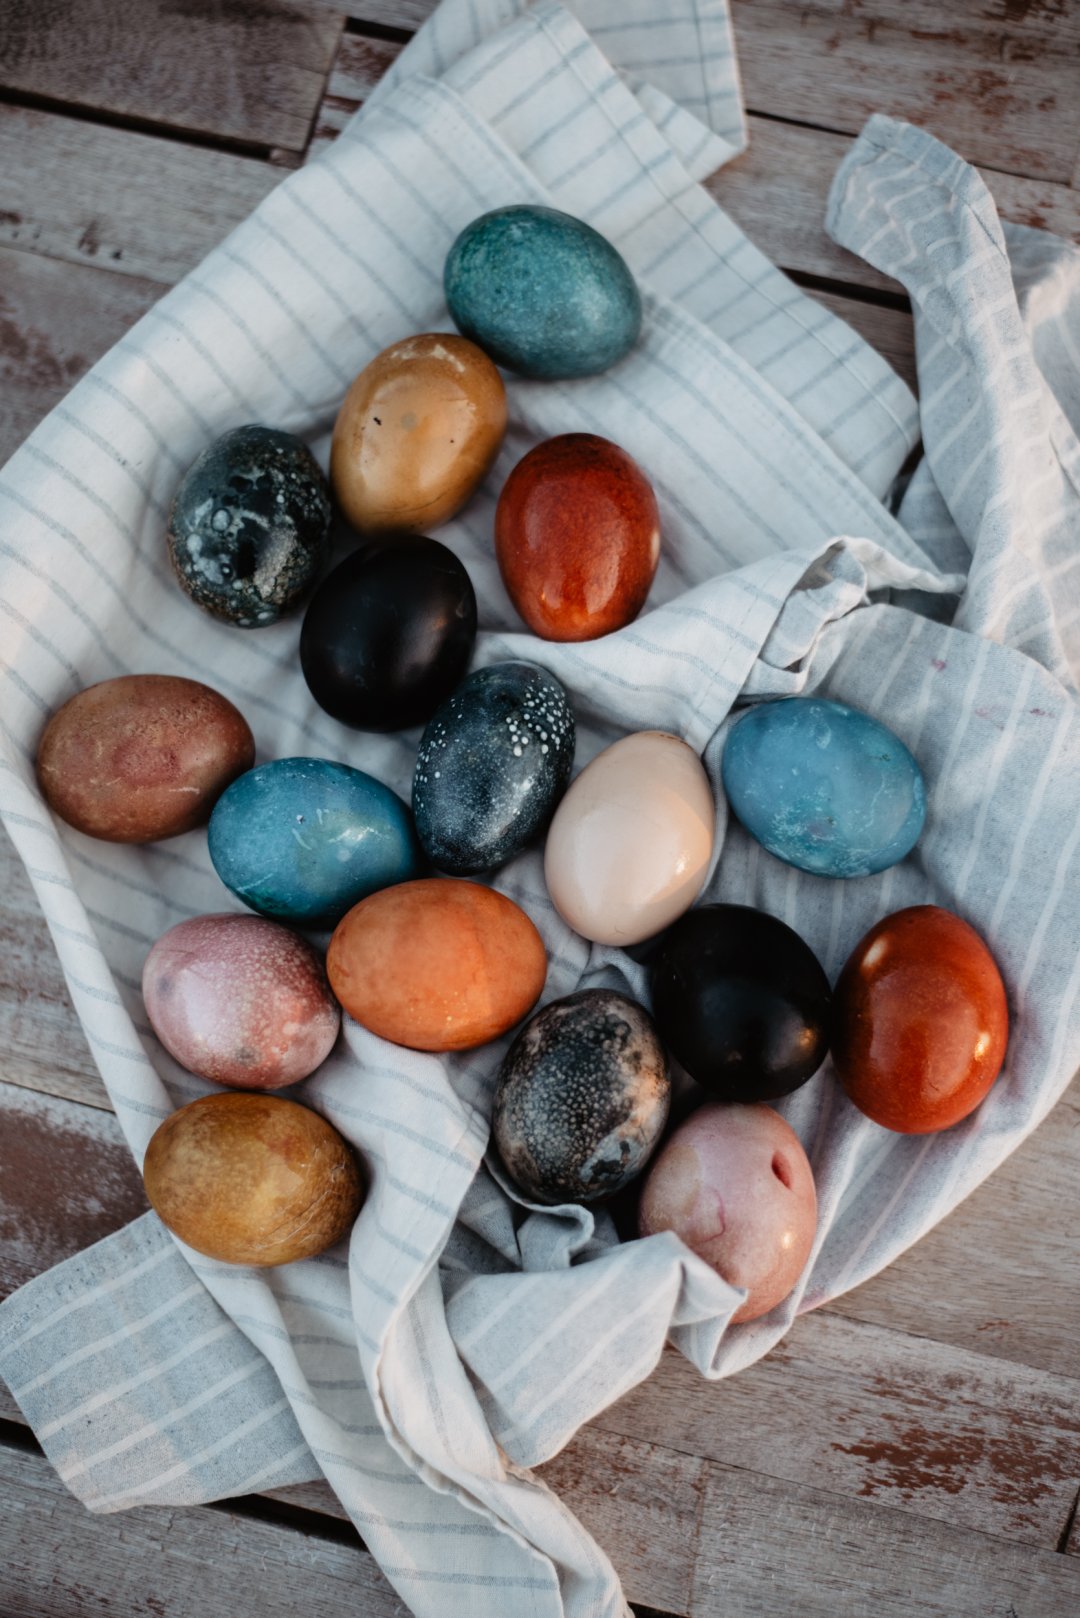
Eggs are symbolic of rebirth, making them an appropriate part of the celebration of spring and the new life that comes after winter. It is common for eggs to be decorated in conjunction with spring festivals and to see colored eggs given as gifts to friends and family. Whatever your tradition, this is an easy craft that can be done at home with friends and family to create beautiful, natural, earth-toned eggs.
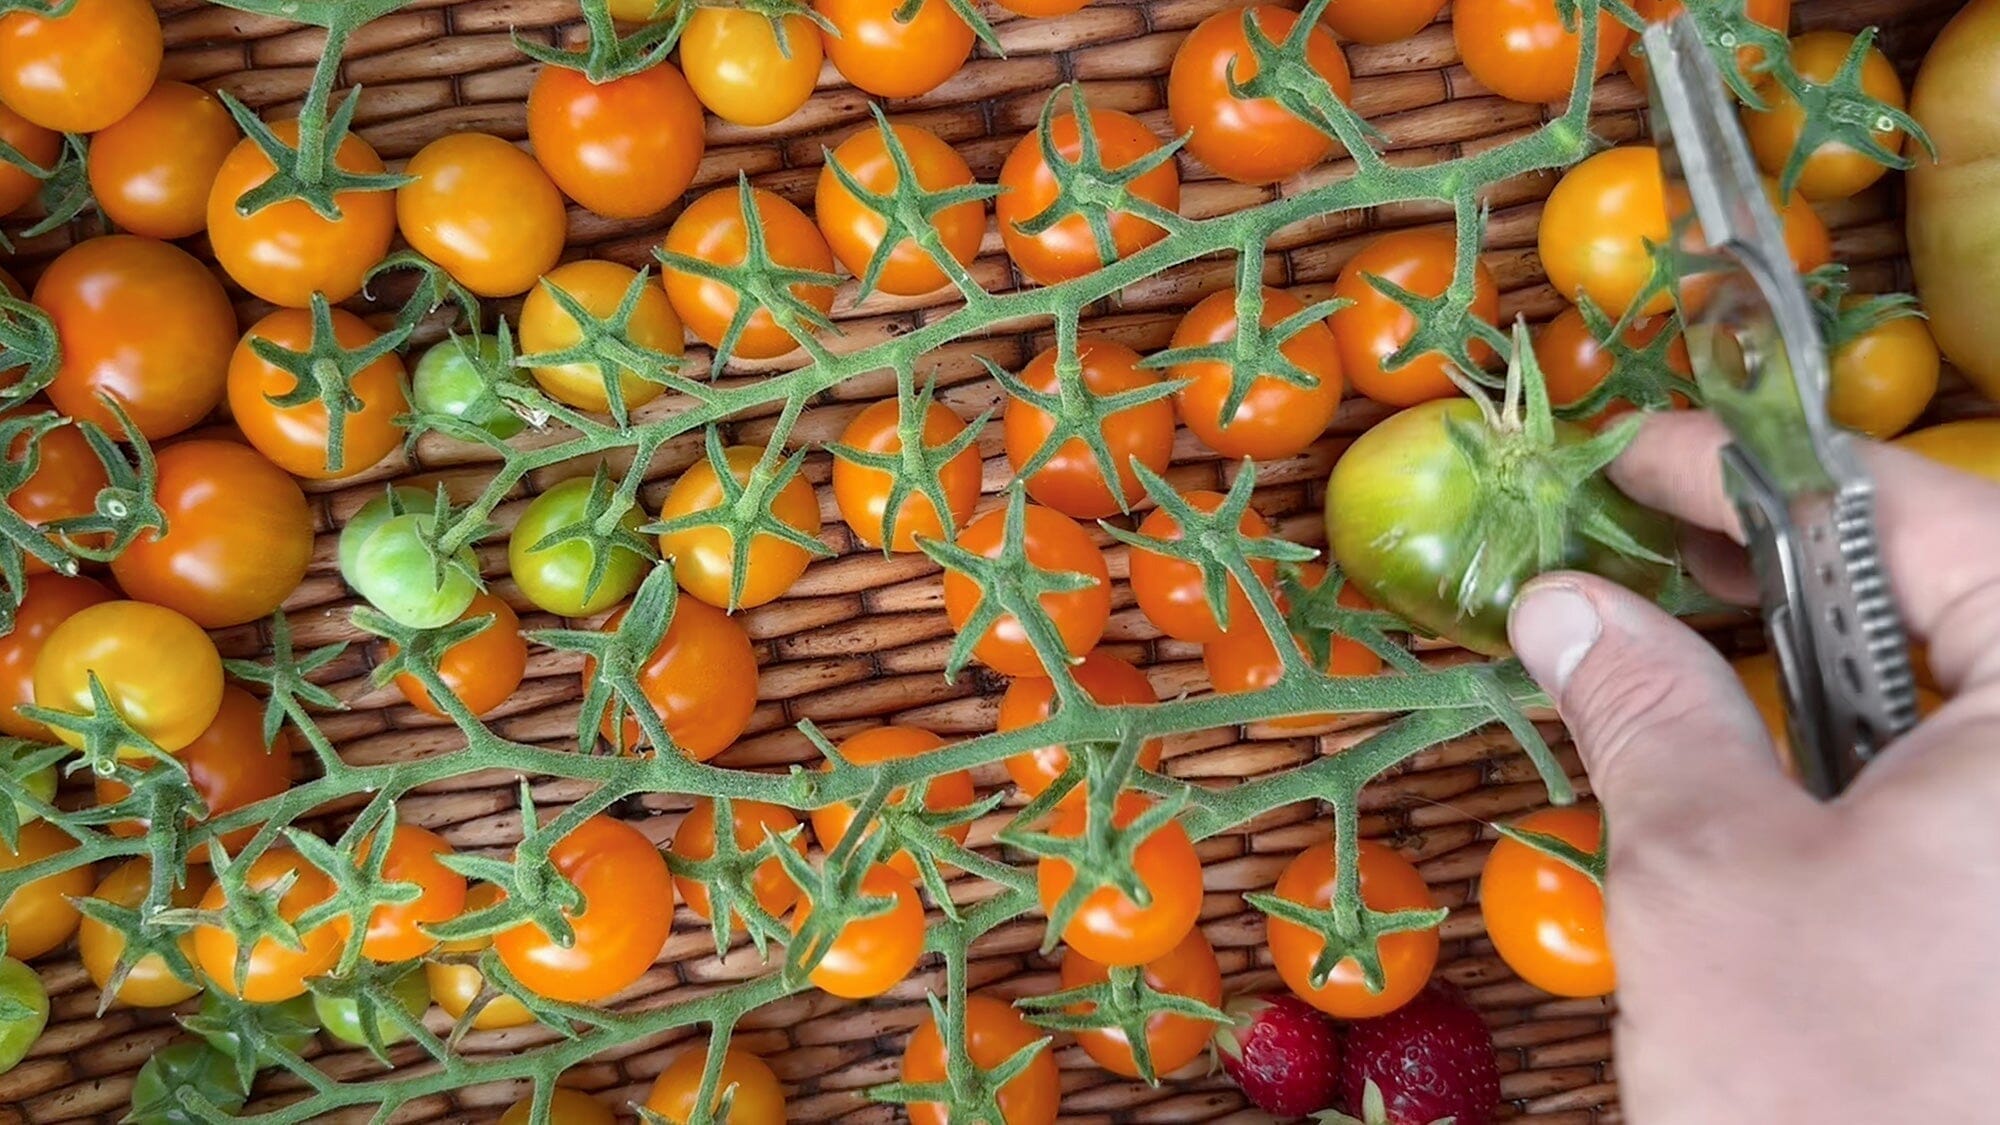
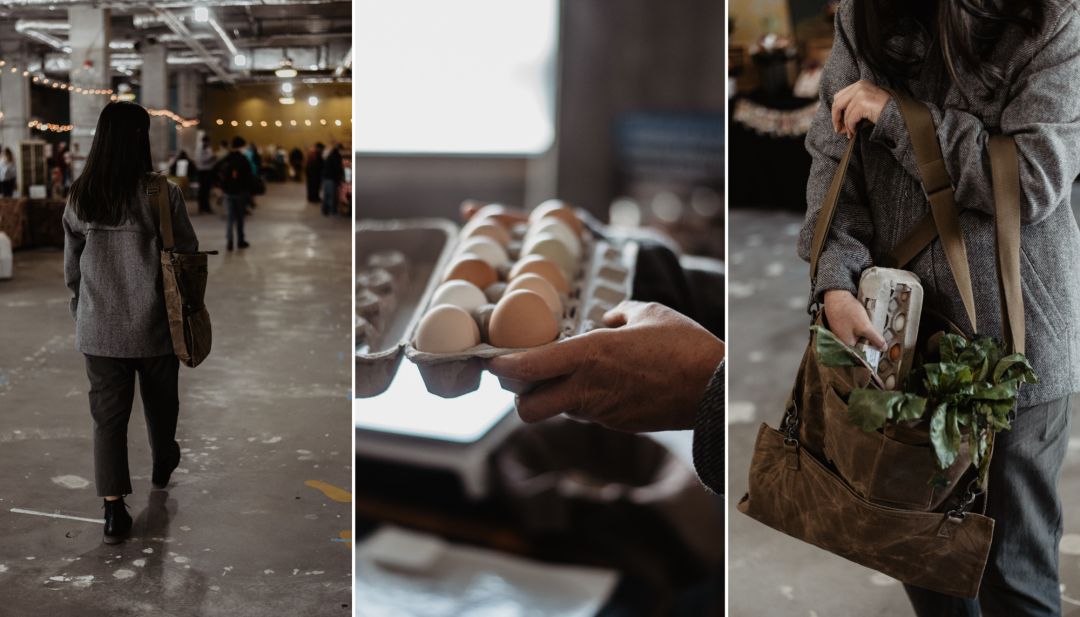
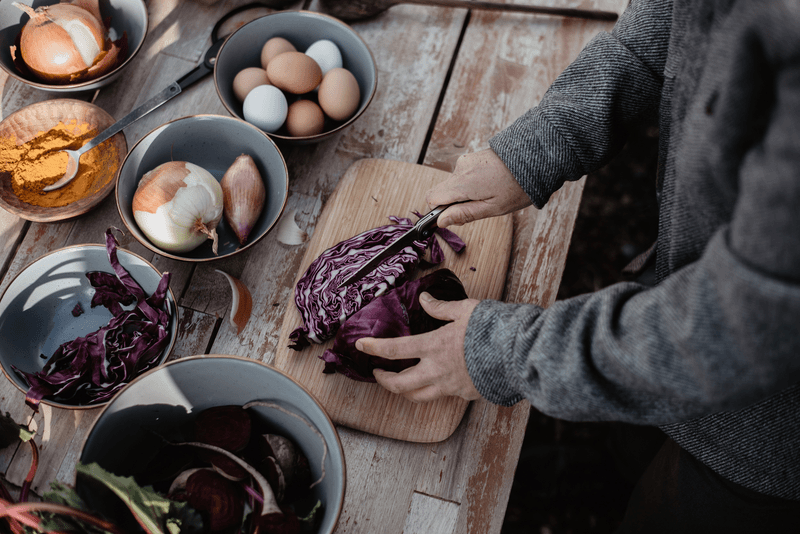
For this method, skip the packaged dye kits and instead shop at your local Farmers Market or raid your kitchen. Collect simple ingredients like turmeric, purple cabbage, tea, coffee, or really anything you can steep in hot water to get color out. Feel free to play around with ingredients; experimenting is part of the fun. The simple, sustainable alternatives to conventional dyes and the colors you get might surprise you!
Feel free to play around with ingredients as experimenting is part of the fun of this method. The simple, sustainable alternatives to conventional dyes and the colors you get might surprise you!
Ingredients
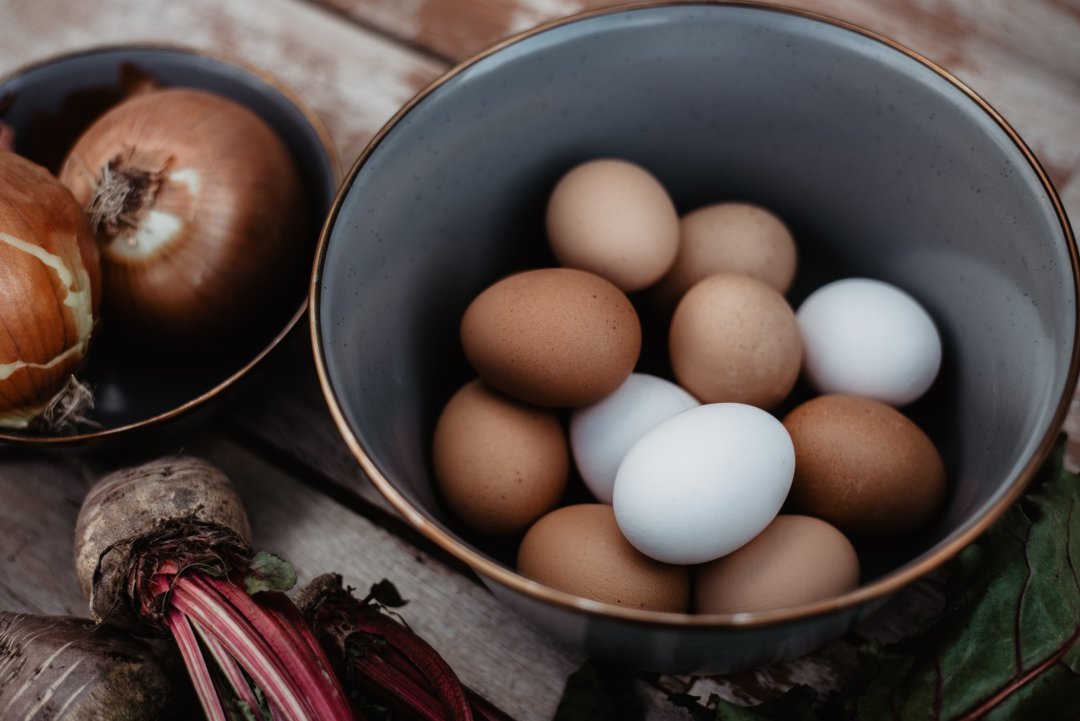
Black Eggs
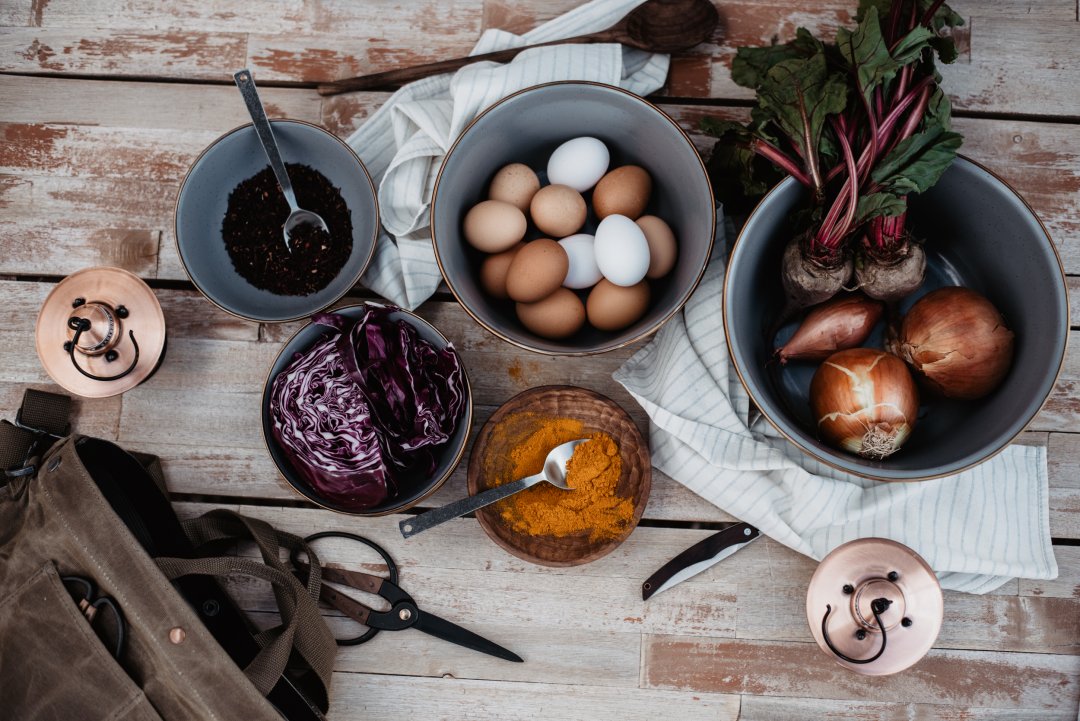
- 1/4 cup dried hibiscus flowers (look for hibiscus tea)
- 2 cups water
- 2 tablespoons distilled white vinegar
- 2-4 hard boiled eggs
Golden Eggs
- 1 cup water
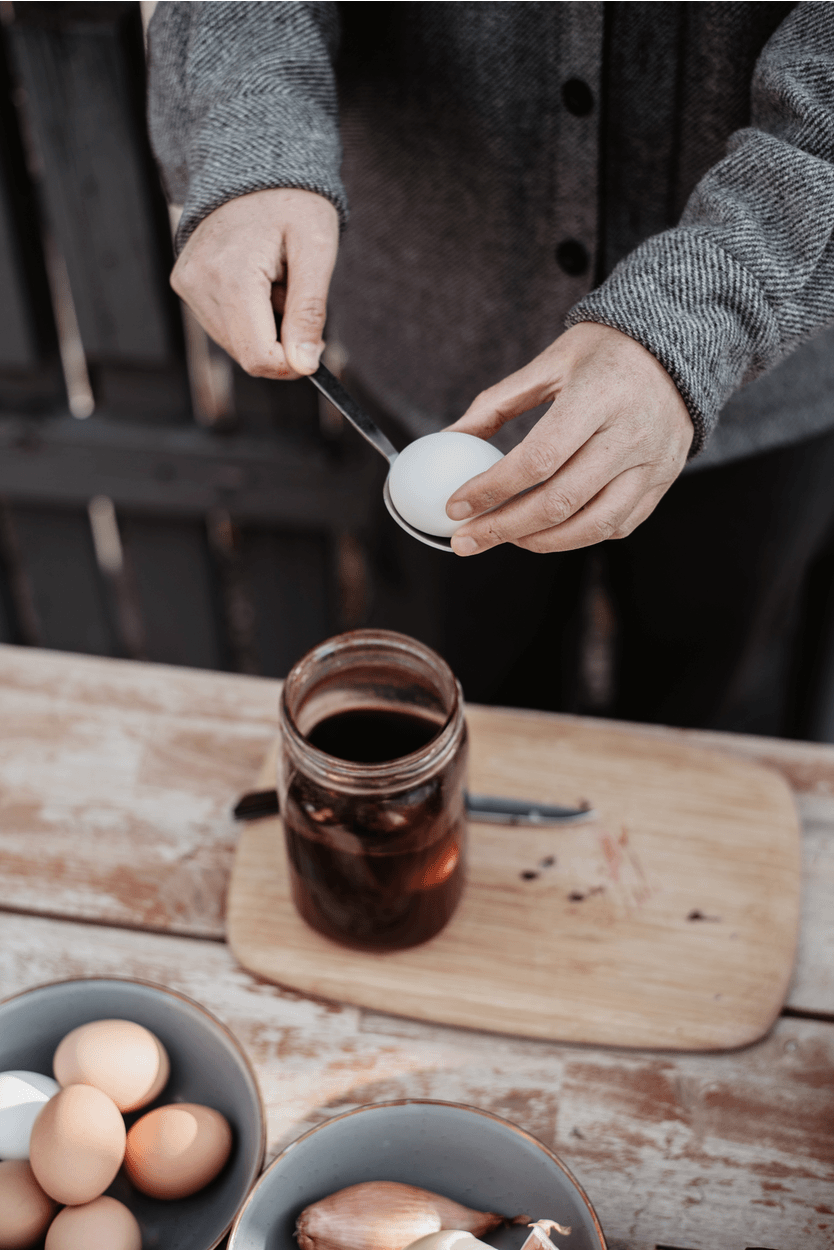
- 1 cup coffee
- 2 tablespoons turmeric
- 2 tablespoons distilled white vinegar
- 2-4 hard boiled eggs
Orange Eggs
- 2 cups yellow onion peel
- 2 cups water
- 2 tablespoons distilled white vinegar
- 2-4 hard boiled eggs
Pink/Red Eggs
- 2 cups beet, grated
- 2 cups water
- 2 tablespoons distilled white vinegar
- 2-4 hard boiled eggs
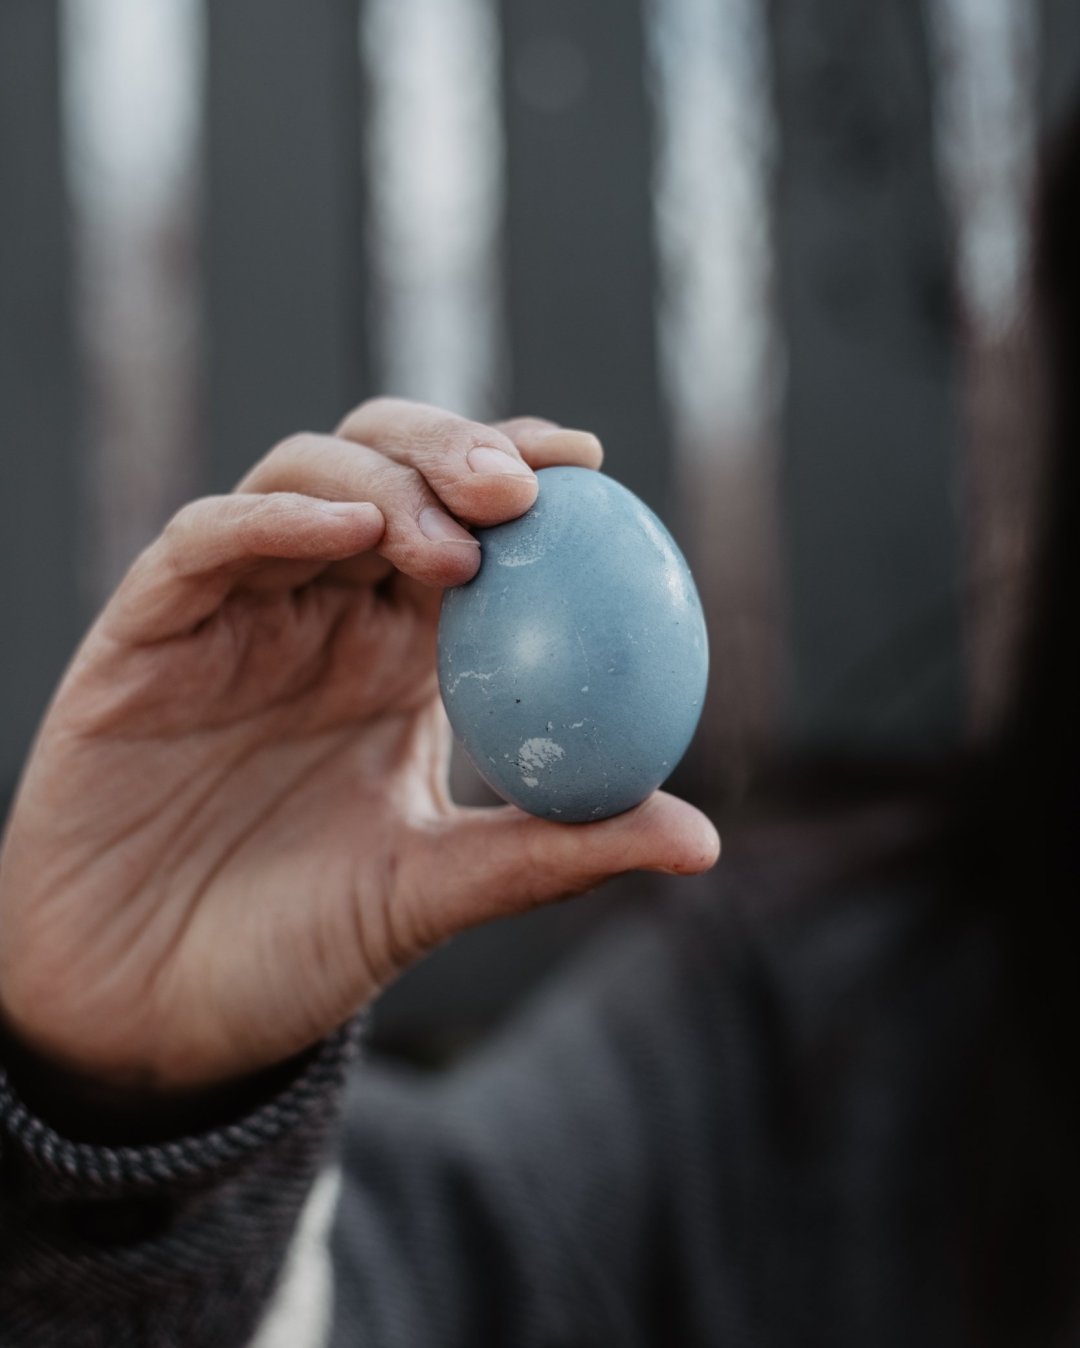
Blue/Green Eggs
- 2 cups purple cabbage, shredded
- 2 cups water
- 2 tablespoons distilled white vinegar
- 2-4 hard boiled eggs
Materials
- 1 medium sized saucepan per dye
- 1 stock pot
- 1 pint sized mason jar (or sealable container) for each dye
- long-handled spoon
- 1-2 dozen eggs

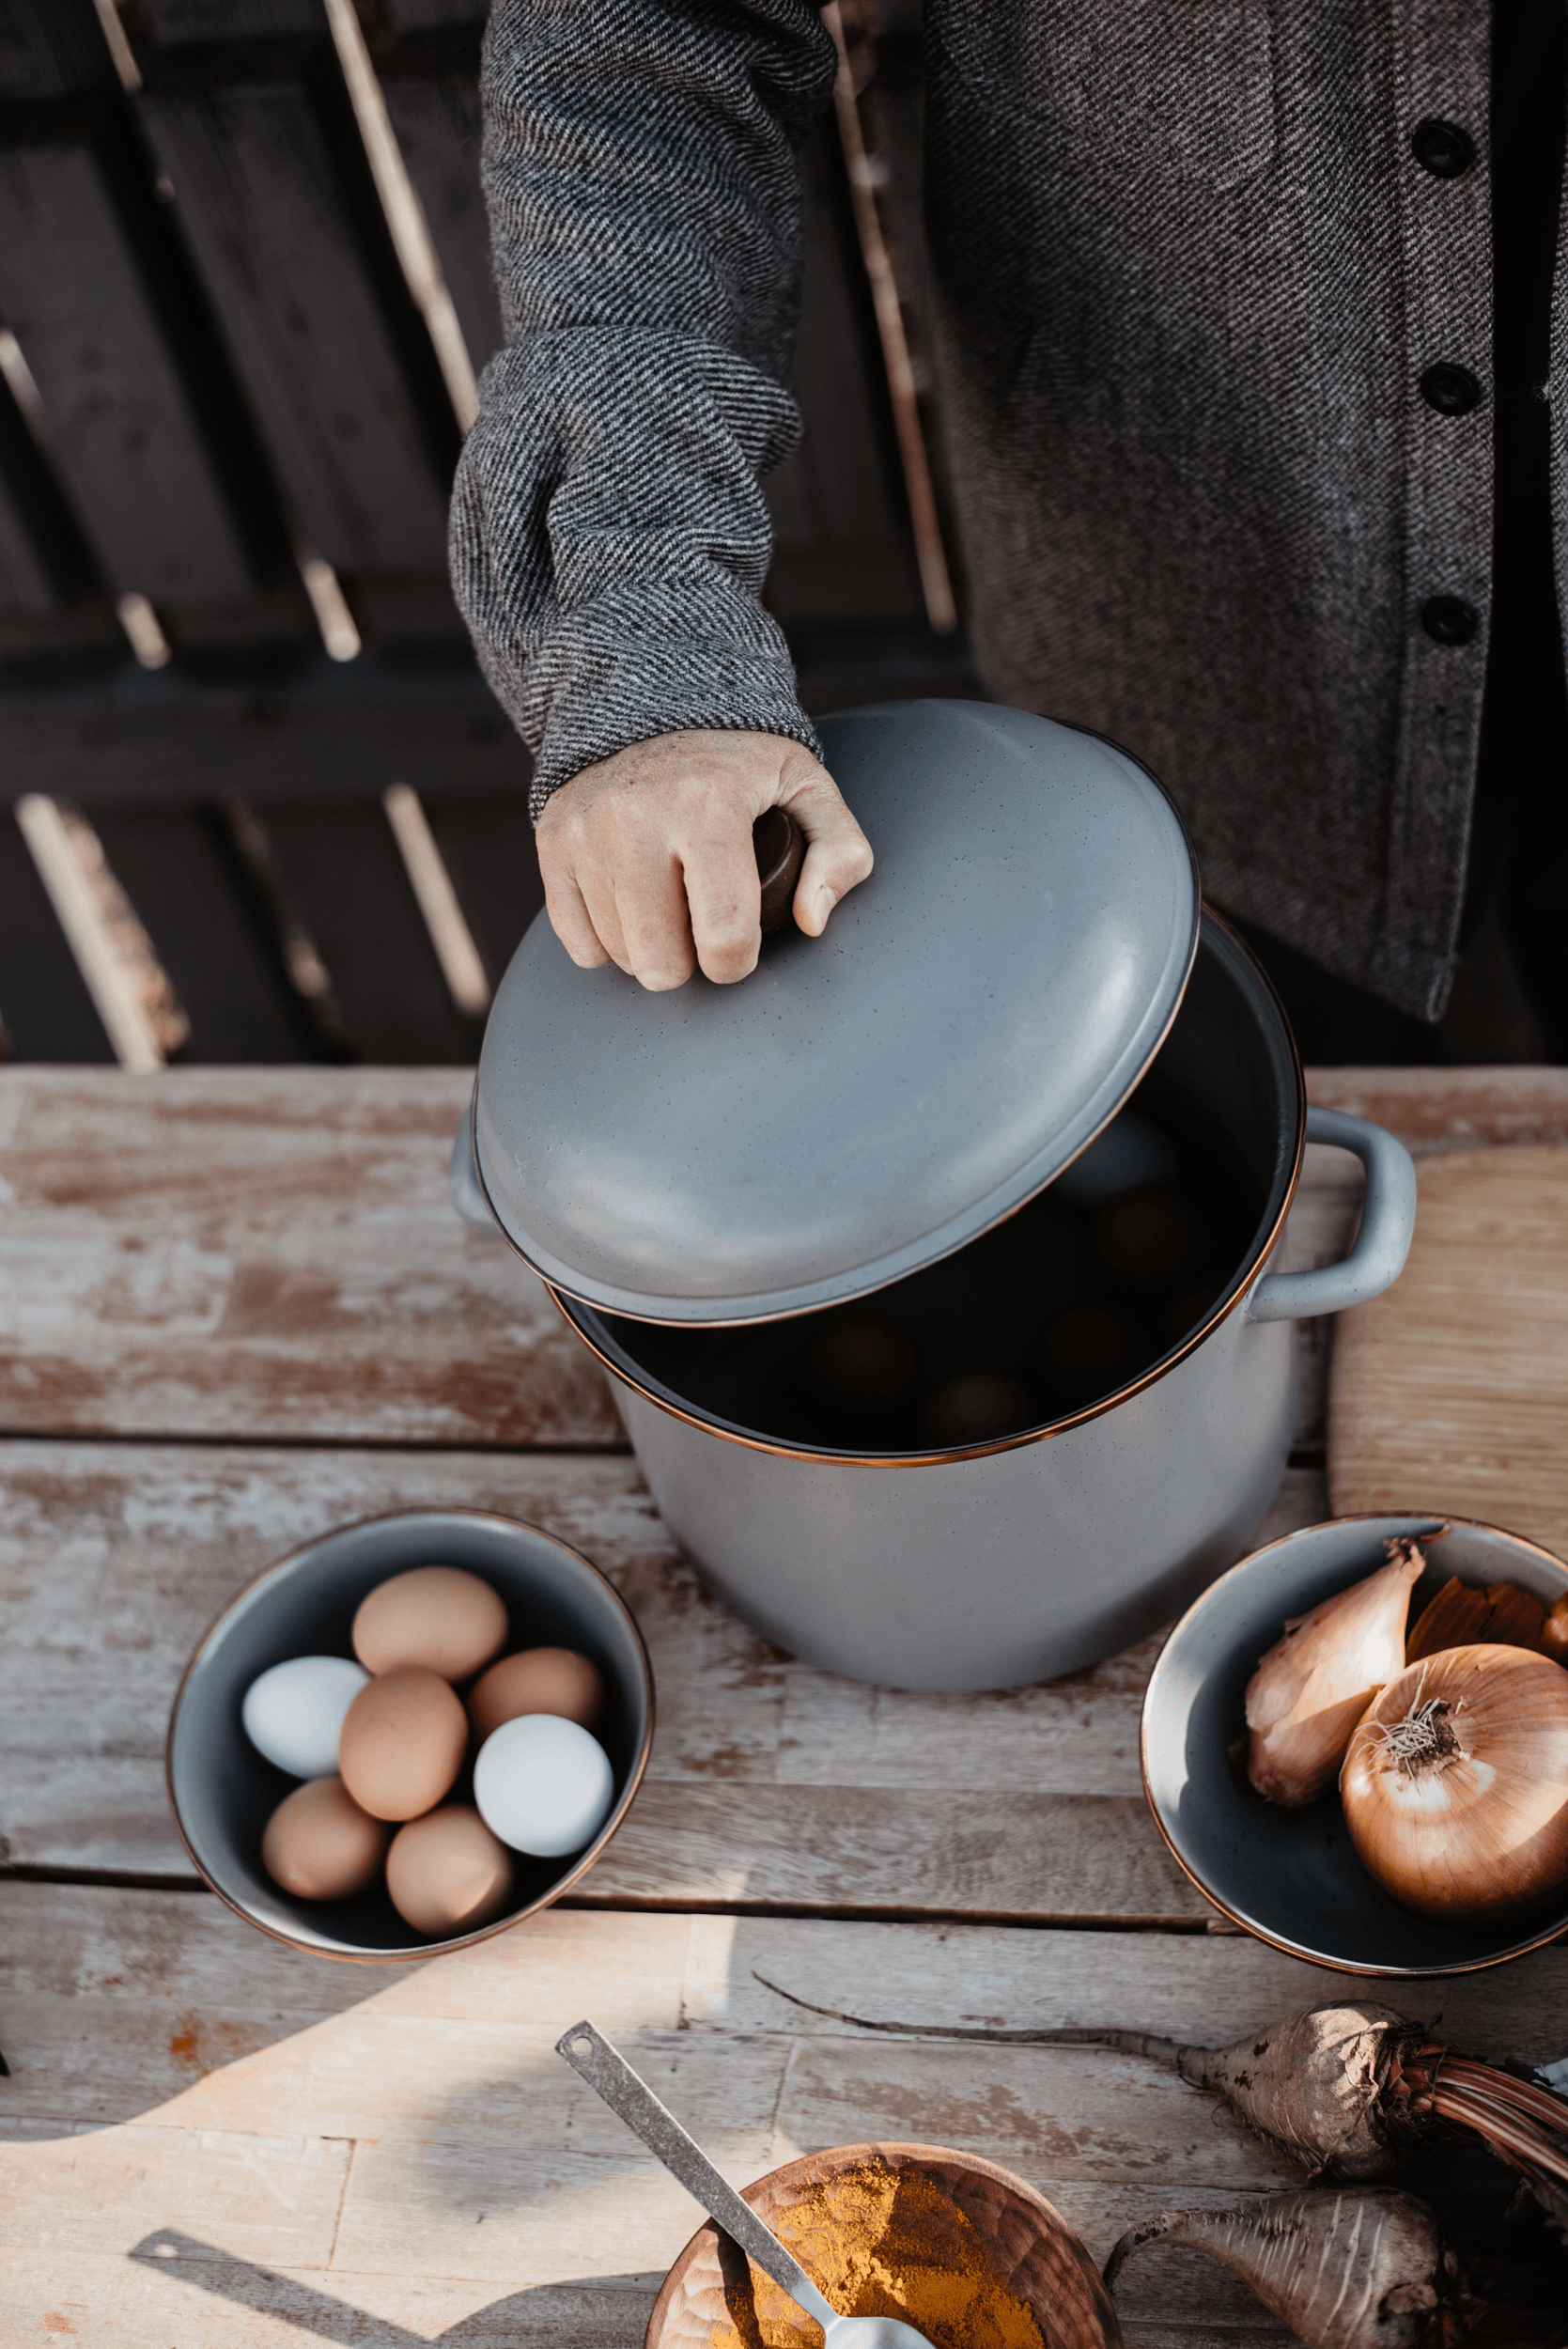
Instructions for Egg Dying
- Place eggs in a large stock pot and fill with cold water 1-2” above the eggs. Bring to a rolling boil. Once boiling, reduce to a simmer and cover with a lid. Cook for 10 more minutes. Carefully remove eggs from the stock pot and place in a large bowl of ice water to stop the cooking. Once cool, place on a dish towel to dry.
- While eggs are drying, prep your dye material. Add the dye material and water to a saucepan and bring to a boil. Reduce the heat to low and simmer for 15-60 minutes. (The longer the dye material simmers the darker the dye will become. Experiment!)
- Remove from heat and strain liquid through a fine mesh strainer. Allow the liquid to cool to room temperature. Add 1 tablespoons of vinegar to every 1 cup of dye liquid.
- Place 2-3 hard-boiled eggs each into the pint-sized mason jars and fill with the dye. Place lids on the jars and refrigerate 2-12 hours until the desired color has been reached. (The color becomes richer the longer the eggs soak.)
- Once the desired color has been reached, carefully remove the eggs from the dye with a spoon and place them on a cooling rack fixed over a sheet pan to dry. Caution: the color may wipe off before the egg is fully dry.
- Optional: To give the eggs a nice sheen, rub a little coconut or olive oil on them once they have dried.
- Tips & Tricks for Best Results -
- Dye more eggs at once by using quart-sized mason jars.
- White eggs will have a much more vibrant color, brown eggs come out with a deeper, earthy color.
- Carefully flip the jars every few hours to get a more even coating.
- If you want lighter/ pastel colored eggs, rinse and dry the eggs after removing from the dye. (The darker outer layer of dye can still be easily wiped away before the eggs have dried completely.)
- Experiment with using multiple dyes on one egg to see what colors you can get (i.e. after a few hours in the turmeric dye, move to the purple cabbage dye for a green color).