Recipe and photo's by Melanie Hutti.
We moved to our small Kentucky farm four years ago. The existing cabin was outdated, dark, and cramped. The first time my family and I viewed it with the previous owner, I left disappointed and disinterested. The only thing that kept me thinking of the property was the view from the front porch, and the prospect of the small “orchard”, shown to us on the tour. I imagined myself drinking coffee on that porch, watching the sun rise over the distant ridgeline. Needless to say, the view won. We have never regretted our decision to move into a house half the size of our previous one, with 20 times the acreage.
Our orchard consisted of three scarce trees: a sour cherry tree, an apple tree, and a pear tree. After three seasons of establishing our seasonal rhythm on the farm, I had enjoyed cherry pie and hard apple cider from freshly-picked fruit. After three years not one pear had grown.
Then there was year four.
I had been moving in the direction of organic gardening, and finally convinced my husband to resist using grass and weed killer. The bees and butterflies have rejoiced in the little white clover throughout the yard (my husband, not so much). They dance about, buzzing and wearing their little pollen pants amidst the garden.
I had not paid much attention to our pear tree in some time. It was nice, but I was always disappointed in its fruitless branches, at least until this year. I looked up one warm day as I passed the orchard, and the tree was surprisingly full of fruit. Every branch had multiple pears, hanging lower as they ripened. I stalked the tree every day, squeezing pears and researching their harvest. (When you can bend a pear’s stem to 90 degrees, and the pear snaps off easily, it is time to pick it and allow it to finish ripening off of the tree).

I ended up picking three crates of pears, with plenty to share with friends. The higher pears dangled until they were nearly rotten, then fell to the ground, where hundreds of bees and butterflies feasted for weeks.
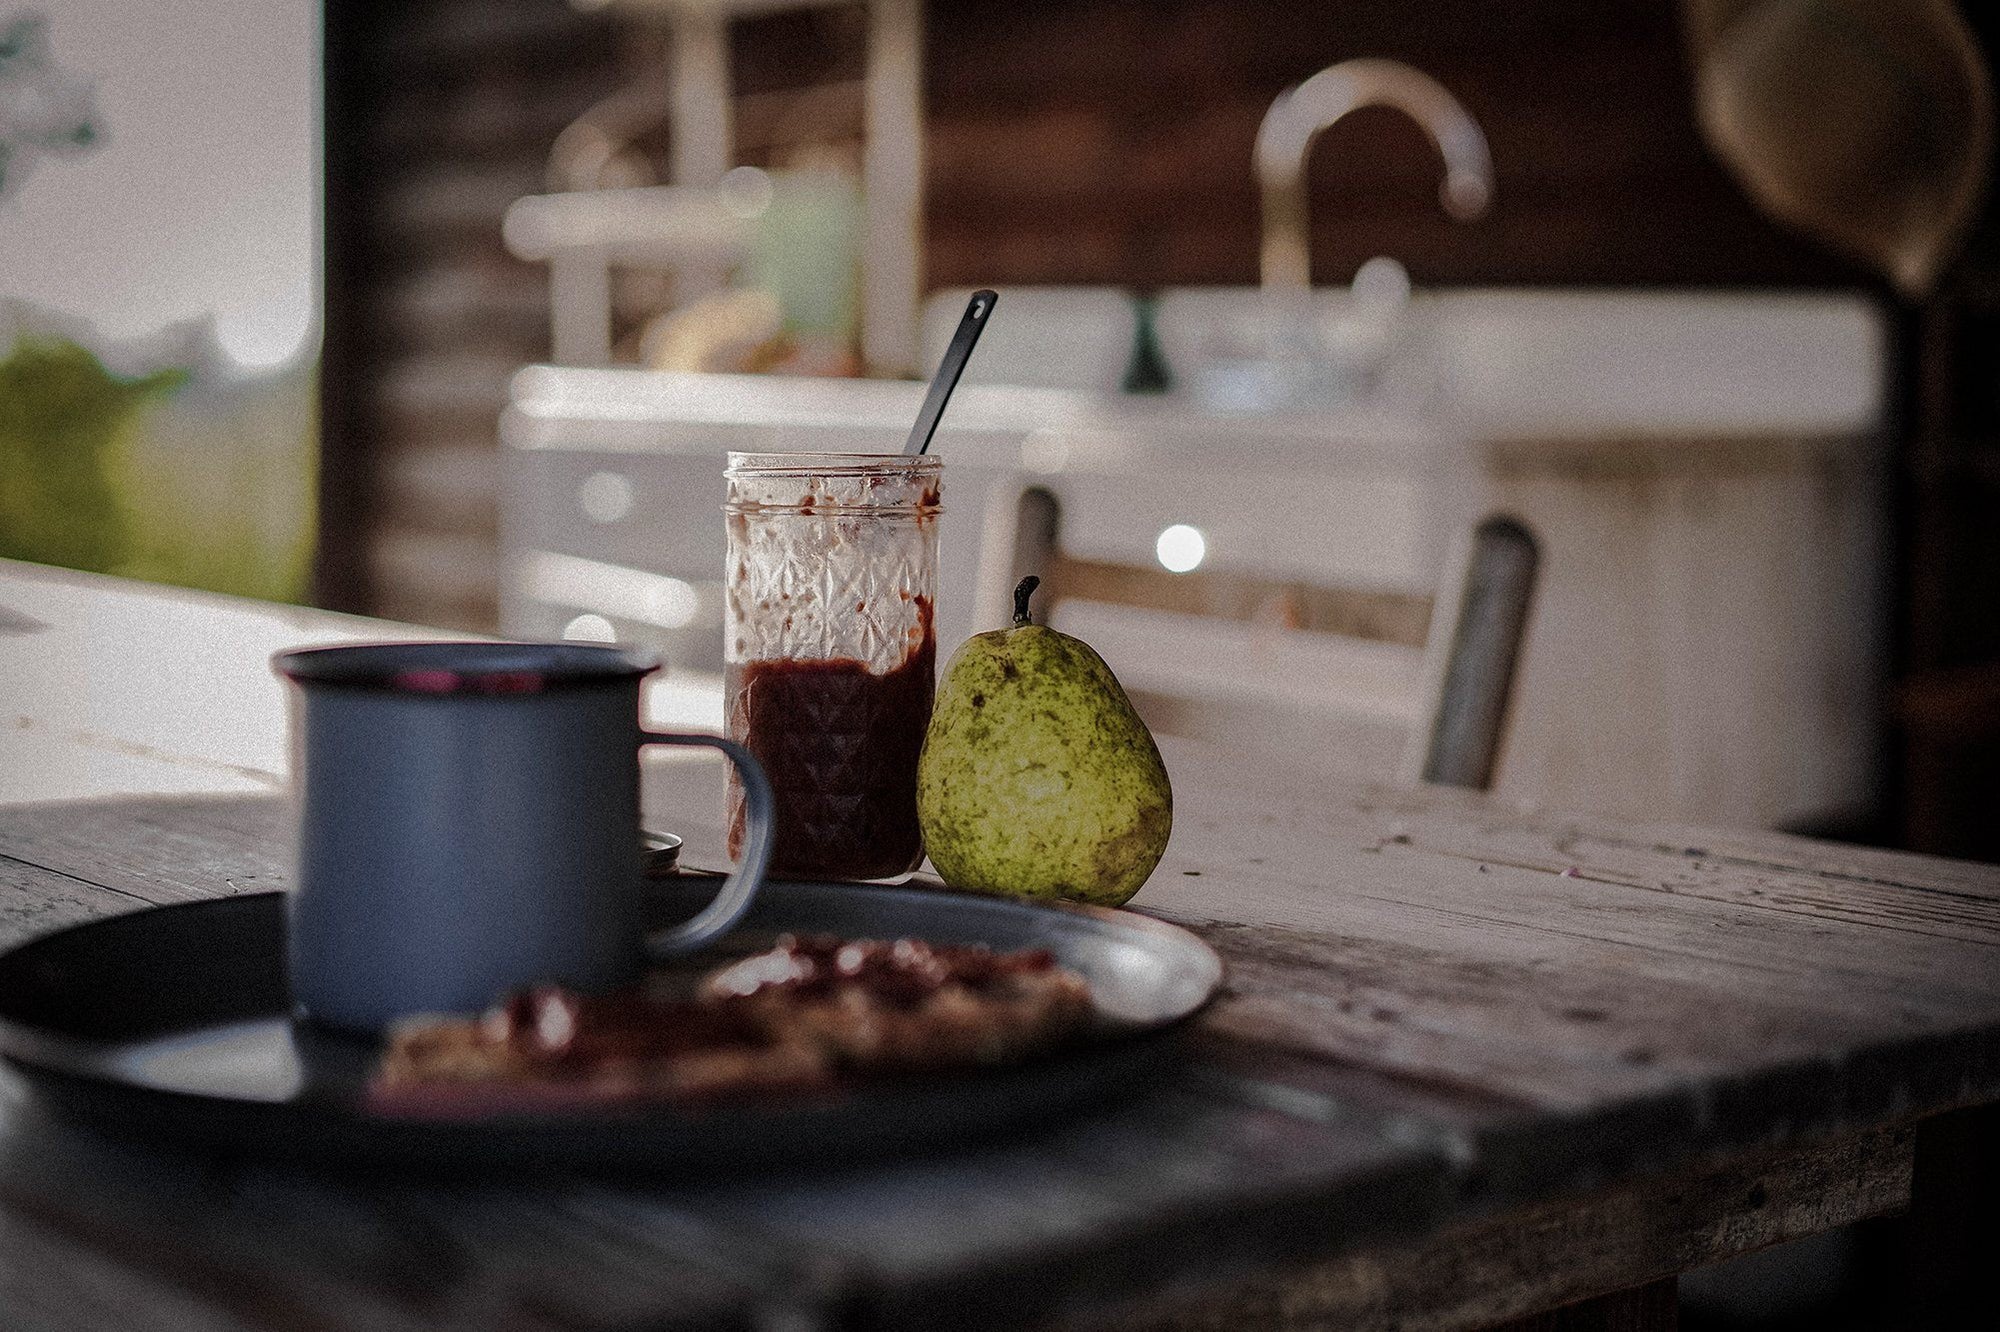
I attribute the fruitful harvest to the changes in our farming practices. More bees, more fruit. More fruit, more bees. Simple changes with amazing results. Now as I drink coffee on the front porch, I frequently accompany it with toast, smothered in lovely, organic pear butter. It makes the sunrise even more beautiful.

>> Shop Barebones Harvest & Gathering Bag
Late Summer Spiced Pear Butter
Note: You will need a canner for this recipe. If you don’t own a canner, make this recipe and gift to friends to store in the fridge.
Ingredients
- 7 lbs. pears, peeled, cored, and chopped
- ½ cup water
- zest and juice of 1 lemon
- 4 cups granulated sugar
- 2 teaspoons vanilla extract
- 1 teaspoon cinnamon
- ¾ teaspoon cardamom
- ¾ teaspoon nutmeg
- juice of 1 orange
Instructions
-
In a large stainless steel pot combine the pears, water, lemon zest, and juice. Bring to a boil over medium-high heat. Reduce heat and boil gently for 20 minutes, stirring occasionally.
-
Working in batches, transfer the mixture to a food processor or blender and puree until a uniform texture is achieved. Do not overblend. Measure 8 cups of pear puree.
-
In a clean, large stainless steel saucepan, combine pear puree, sugar, orange juice, vanilla, cinnamon, cardamom, and nutmeg. Stir until sugar dissolves.
-
Bring to a boil over medium-high heat, stirring frequently. Reduce heat and boil gently. Continue to stir frequently until mixture thickens and holds it shape to a spoon, and liquid does not separate.
-
Meanwhile, prepare canner, jars, and lids. Wash and rinse the jars in hot soapy water. Drain the jars well of any excess water. Set the screw bands aside - they don't require sterilizing. Place the lids - the flat round portion of the two-piece closures - in a small saucepan. Cover with water and bring to a simmer. Don't boil. Keep lids hot until you're ready to use them.
-
Carefully ladle hot butter into hot jars, leaving ¼ inch head-space. Remove air bubbles and adjust head-space, if needed, by adding more butter. Wipe rim with a clean damp cloth. Put the lid on the jar and tighten just enough to close (do not tighten with all of your strength). Place jars in canner, ensuring they are completely covered with water. Bring to a boil and process for 10 minutes.
- Remove canner lid. Wait 5 minutes, then remove jars, cool, and store. When you hear the pop sound you know they are sealed. Alternatively, you can press on the lid and make sure it doesn't pop back at you. If one doesn't seal, store in the refrigerator. Enjoy with your favorite crusty bread and a hot cup of herbal tea or coffee.

ABOUT THE AUTHOR
Melanie Hutti is the stay-at-home gypsy of Gypsy Hill Farm located in central Kentucky. She loves to travel, but equally loves her time on her farm with her husband and two teenage sons. She is a full-time Occupational Therapist in the public schools, where she uses gardening as a therapeutic activity for her students with exceptional needs. She spends her evenings and summers off in her garden and behind the camera with her hobby photography business, Gypsy Hill Photography. She loves cooking, canning, and serving as a missionary in Haiti. She is a collector of hobbies and loves anything food and nature centered.


