Story & Photos by Aaron Aiken
What You'll Need
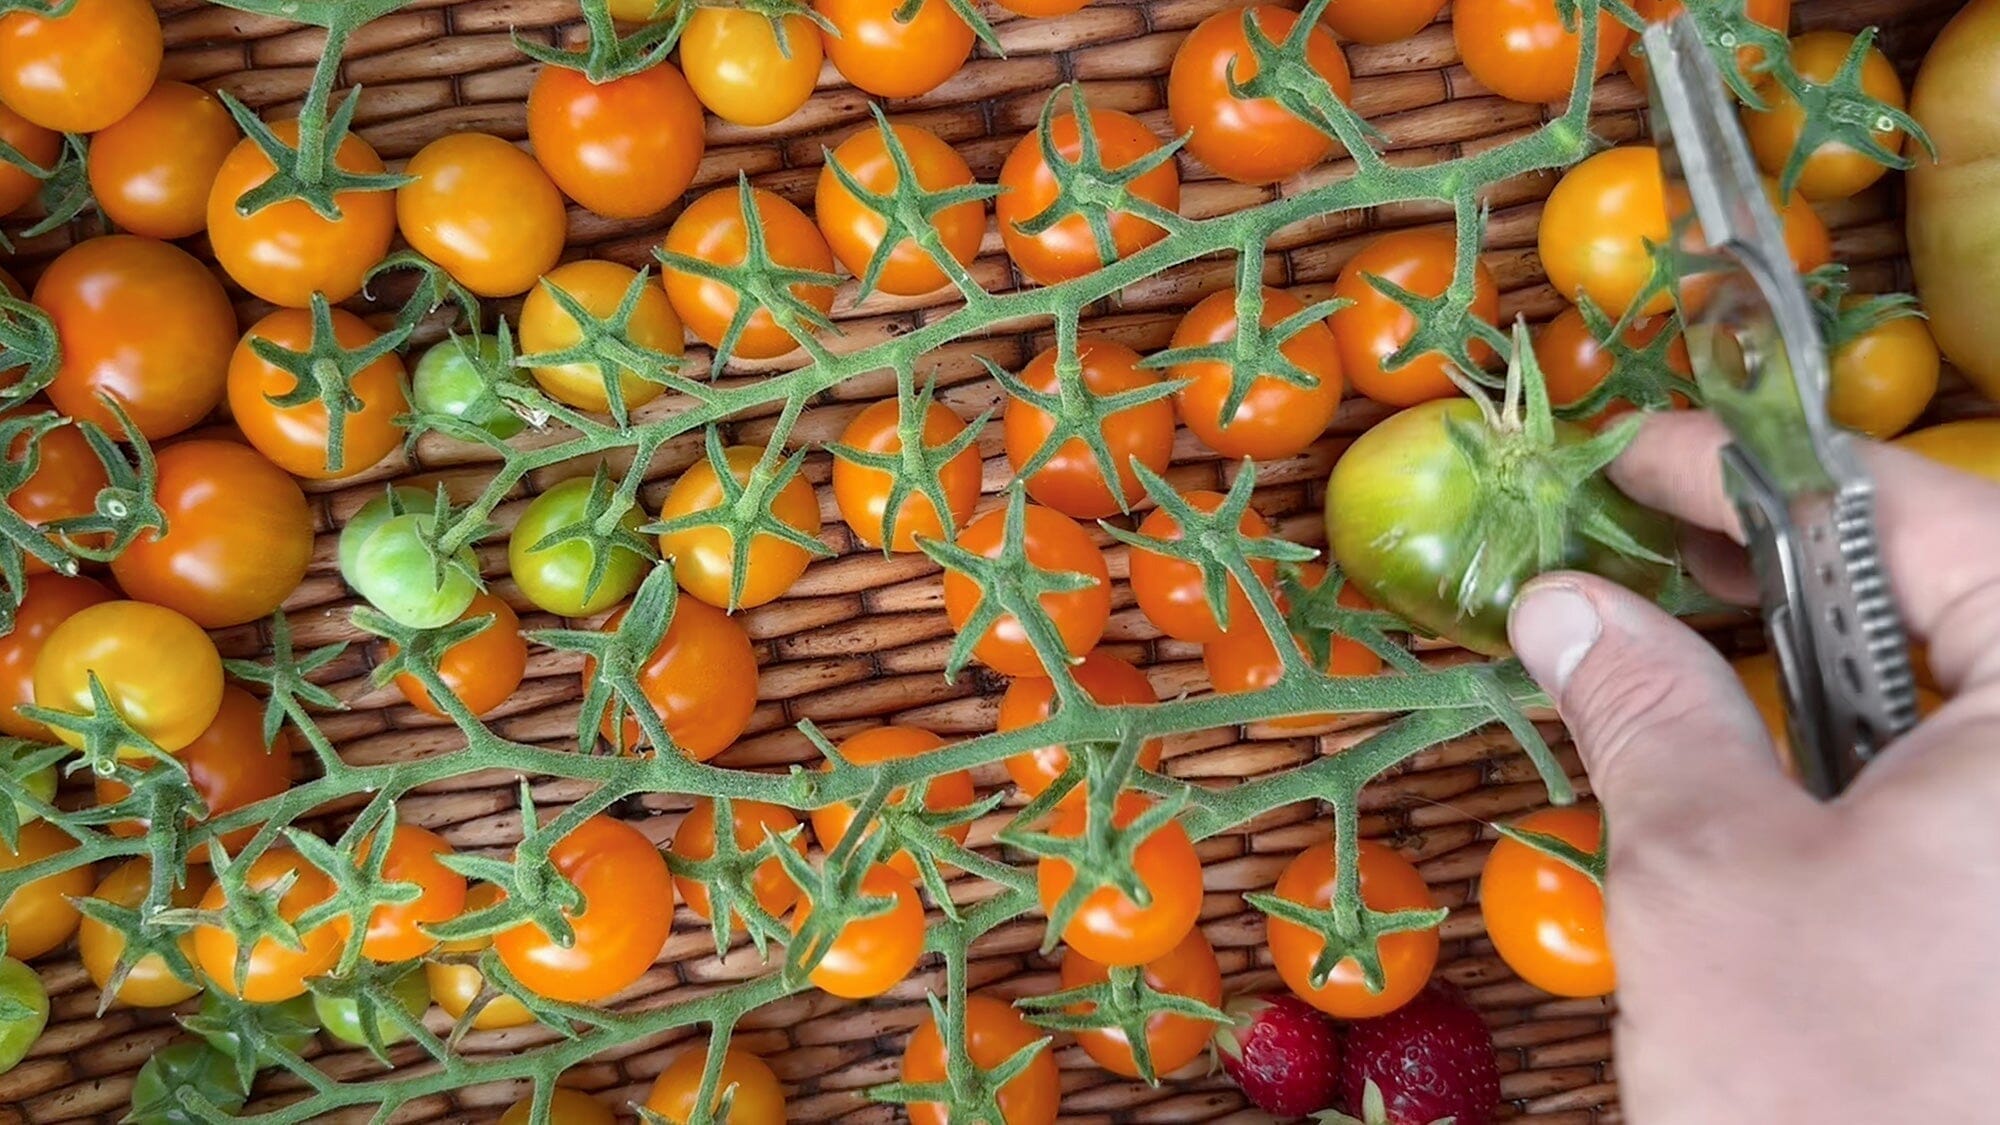
If you were to ask a group of gardeners what their favorite things to grow are, you’d be in for a wide variety of answers, but one crop is bound to be on everyone’s list: tomatoes. Tomatoes are the perfect homegrown vegetable (technically a fruit) for beginners to veteran gardeners.
A fresh homegrown tomato will put any grocery store tomato to shame, and unlike some other garden staples that require more maintenance, tomatoes are relatively easy. That being said, if you want to maximize your yield, create the most delicious and nutritious tomatoes, and have the healthiest plants, here are the five things you need to do.
Start Your Tomato Seedlings Well
While you can directly sow tomato seeds, starting with seedlings is much easier and common. You can grow them yourself by starting them in seed cells or cups, or get them at a local nursery. Choose sturdy (not leggy), deep green seedlings with no flowers or signs of stress. This means no signs of pests, yellowing leaves, and not root bound (which you can find by lightly lifting the seedling out of its container).

If you’re starting from seed, make sure your seedlings get strong light and warm temperatures, and give them a week to adjust to outdoor conditions before planting. This “hardening off” step helps prevent shock and sets them up for a strong start.
When you plant, go deeper than you think. Tomatoes can grow roots all along their stems, so bury the bottom two-thirds of the plant, or lay it sideways in a trench with just the top showing. More buried stems mean more roots, and more roots mean stronger, more productive plants. Give them space—at least 2 feet apart—and water them thoroughly. If it’s a hot or windy day, a little shade for the first day or two can help reduce stress.
Properly Prepare Your Soil
Tomatoes are heavy feeders. The best way to set them up for success is to build rich, healthy soil before you plant. A few weeks ahead of time, mix in plenty of compost or well-rotted manure—about 3 to 4 inches worked into the top layer of soil when planting in-ground or in raised beds, or into the top 2 inches of containers. This boosts nutrients, improves structure, and gives young roots a soft, fertile place to spread. Drainage is also key. If your soil holds too much water, mix in compost or other organic material to loosen things up. For sandy soils that drain too quickly, compost will help them hold onto moisture.
Before you transplant, it’s wise to mix in a slow-release organic fertilizer tailored towards fruiting plants, in the amount specified by the manufacturer. Tomatoes love a relatively well-balanced fertilizer, which is slightly higher in phosphorus and potassium. Avoid over fertilizing with nitrogen, as it will lead to big green plants with little fruit, especially as the season progresses. In addition to mixing in the appropriate amount into the planting area, add a small amount (a tablespoon or so) into the planting hole before transplanting to give your seedlings a quick boost.
Mulch, Mulch, Mulch For Your Tomatoes
Right after planting (or soon after), add a thick 2–4 inch layer of organic mulch around each tomato. It locks in moisture, keeps weeds down, and helps prevent disease. Great mulch options include clean straw, shredded leaves, untreated grass clippings, or pine needles.
Mulch acts like a protective blanket for your soil—it keeps roots cooler on hot days, warmer on chilly nights, and most importantly, it keeps moisture from evaporating so quickly. That’s a huge help in raised beds or hot, dry climates where things dry out fast. Mulch also limits soil from splashing onto your tomato leaves when it rains or when you water. That splash can carry fungal spores that cause early blight and other diseases.
Stake & Trellis Your Plants
Letting your plants sprawl leads to more disease, pests, and damaged fruit. Supporting your tomatoes improves air circulation and helps the fruit ripen cleaner and more evenly. It also makes harvesting way easier.

For determinate (bushing) varieties, you can easily just add a single stake to support the plant, and add additional stakes if they get crazy, but for indeterminate (vining) varieties, you’ll want something more robust.
Cages are a solid option, and incredibly easy to set up. Pop a cage over the plant soon after transplanting and let it grow.
Growing a bunch of tomatoes? Try a Florida Weave (aka basket weave). This works great for rows: drive stakes between every couple of plants and weave twine around the plants as they grow. It’s fast, efficient, and keeps everything standing tall.

My personal favorite is a cattle panel trellis, which can be made by driving several T-posts into the ground and then tying a long cattle panel onto it. It’s affordable, sturdy, and the perfect pairing for robust indeterminate tomatoes.
Determinate vs. Indeterminate Tomato Care
The first thing to know is whether your tomato is determinate or indeterminate. Determinate types (like ‘Roma’ or ‘Celebrity’) grow to a set size and ripen most of their fruit all at once—they don’t need much pruning. Remove any yellowing leaves near the base or any that touch the soil. Indeterminate types (the ones that keep growing all season) can benefit from a little more hands-on care.
For indeterminate tomatoes, pruning helps focus the plant’s energy on producing fruit instead of tons of leafy growth. One of the main techniques is removing suckers—those little shoots that grow between the main stem and a leaf branch. Letting just one to three main stems grow gives you a stronger plant that’s easier to manage and harvest from. If you want the biggest, earliest tomatoes, go with one main stem. If you’re after more fruit overall, two or three stems is a good Balance.
Check your plants weekly and pinch off suckers when they’re still small (2–4 inches). It’s easier on the plant and prevents things from getting too crowded. If you’re using cages and want a low-maintenance setup, you can let more suckers grow—just thin a few here and there for airflow.
Another pro move? Remove the bottom leaves once the plant gets going. Trimming the lower 6–10 inches of leaves will improve air circulation and reduce disease that can spread from the soil, especially during rain or watering. Ensure your plant has plenty of leaves up top before you start trimming.
Always use clean tools (or clean hands), especially if you’re dealing with sick plants—rubbing alcohol or a mild bleach solution works great between cuts.

Later in the season, you can also top your indeterminate plants by snipping off the growing tips. This stops new flowers from forming and pushes the plant’s energy into ripening the fruit that’s already there—great for getting the most out of your harvest before the season ends.
Tomatoes are the perfect pairing for the home or backyard gardener, and with all of these methods, you are sure to have your best tomato season yet. Ready to learn more? Find our summer gardening tips here.

About
Aaron is an urban gardener, garden consultant, and content creator based in Pasadena, California. You can find him creating informative and entertaining garden content on all social media platforms, where he goes by @HeyGardenZaddy. He is passionate about educating and empowering families to start growing their own organic food.


