By Brianne Dela Cruz; Gather & Grow
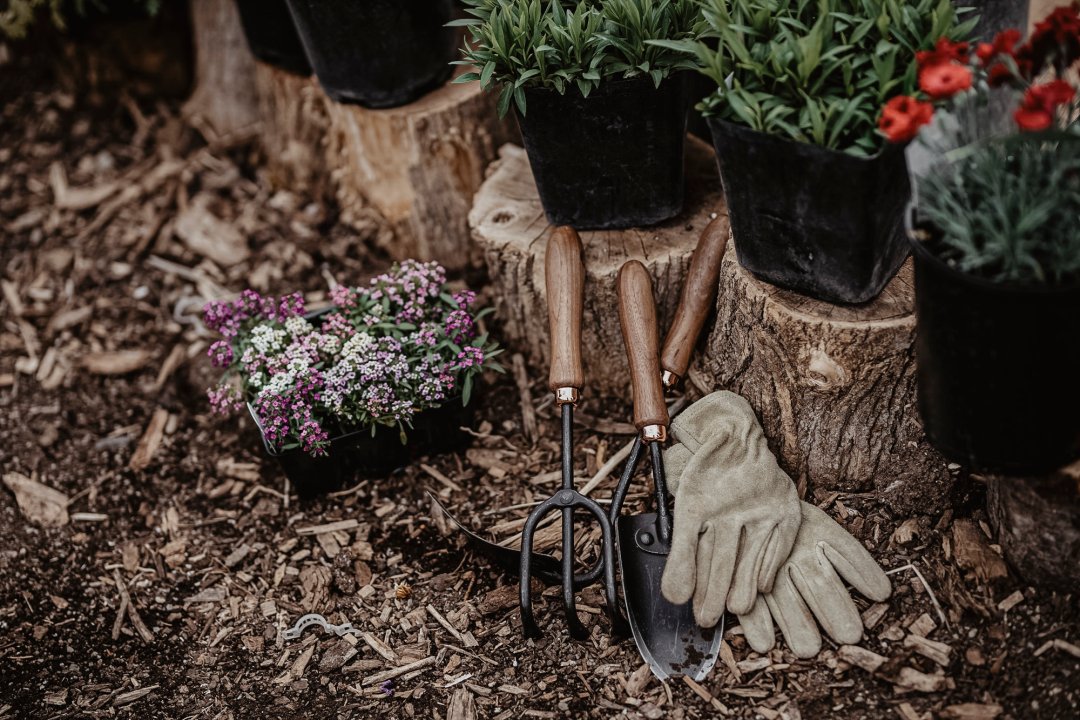
I’ve always felt that before beginning any new adventure, it’s a good idea to have some sort of plan. Whether I’m gearing up for an adventure in the wild or getting ready for the growing season, researching, dreaming, and making arrangements is a past-time hobby for me.
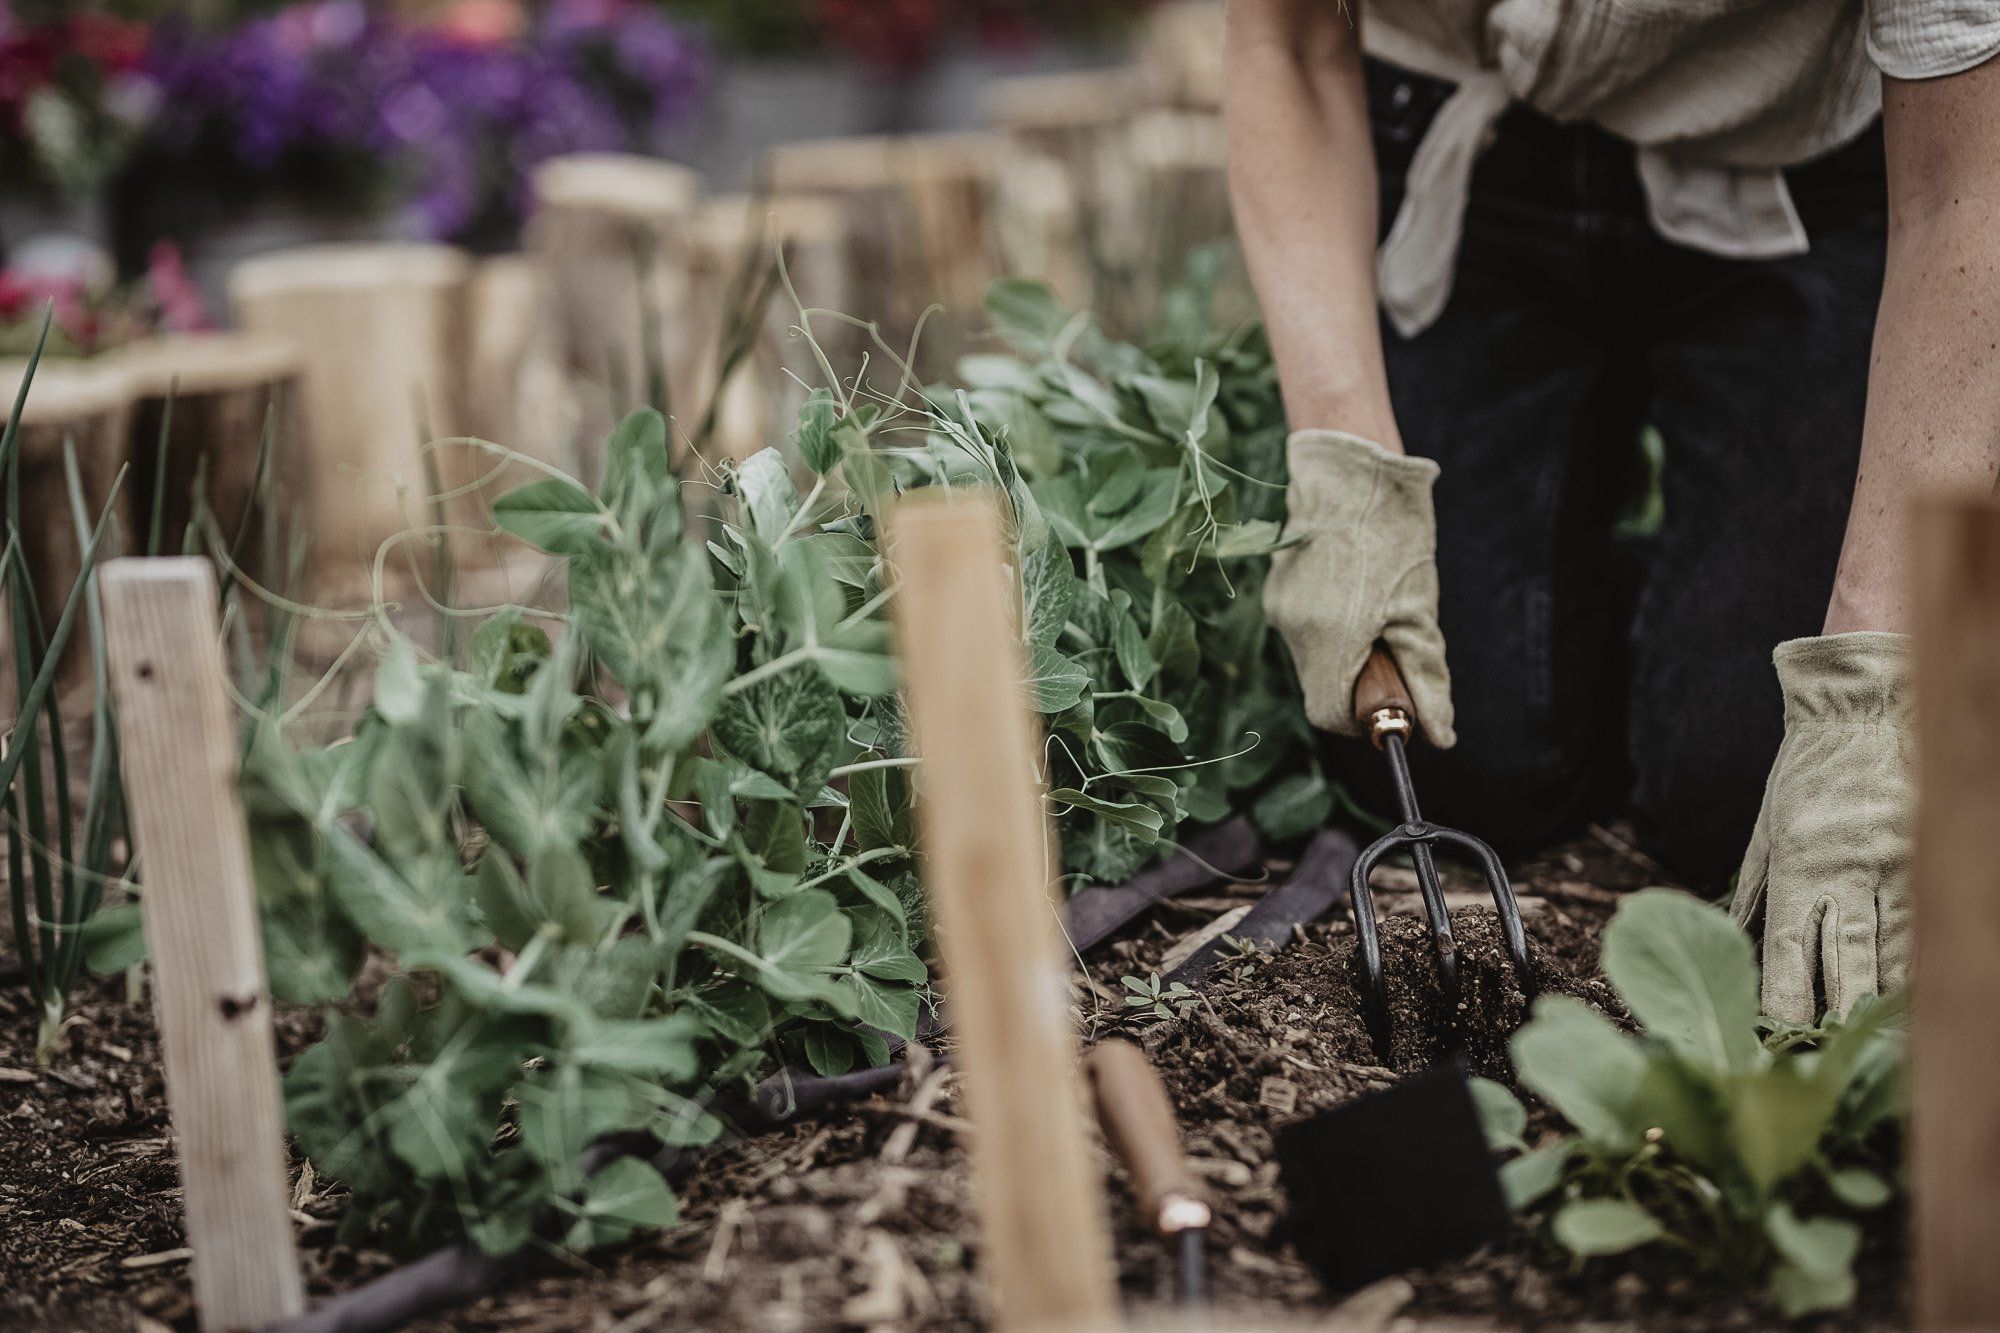
There’s not a big difference between an epic adventure away and gardening. In my eyes, they are one in the same. That is exactly how I felt the first summer I built a garden, and it’s how I still feel today, many years later. While the imagery of gardening doesn’t necessarily conjure up thoughts of exhilaration, I can assure you that it still provides drastic episodes of ups and downs, victories and losses, and wildness to rival any sort of epic expedition. Nevertheless, here we are in winter: the best time of year to make plans for this year’s gardening adventure.
Step 1: Start with a map of your garden
Sketch a rough outline of your garden space from a top-down perspective being sure to denote the north, south, east, and west directions, as well as any large structures like a house or shade giving tree. I have found that using grid paper is especially effective in helping me outline my garden beds with as much square-footage accuracy as possible. For example, 12 squares by 5 squares on my grid paper equates to a 12’ X 5’ garden bed. Outlining the square footage helps me visually understand how many crops I might be able to fit in my garden beds. Additionally, knowing the directions of the sun and the surrounding structures will help in the crop selection and planting process.
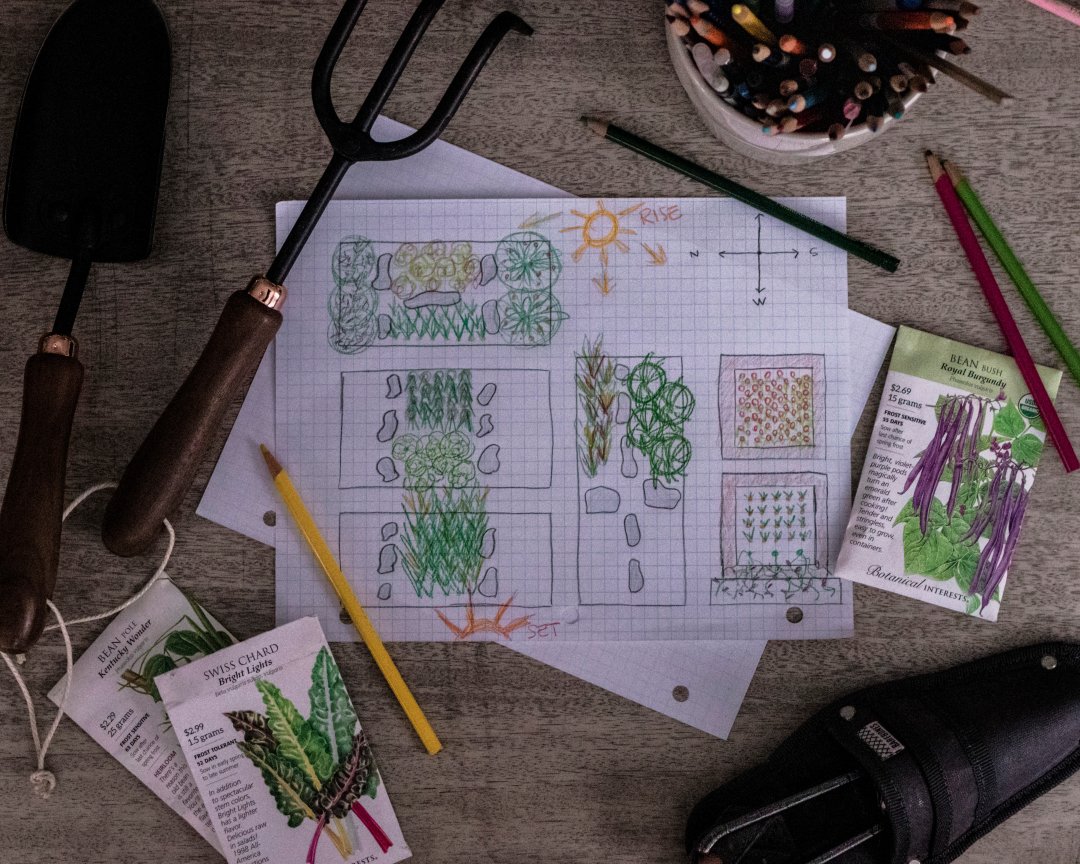
Step 2: Determine your sun exposure and hardiness zone
After getting a feel for your garden layout, it’s time to get clear on the facts of the space. Knowing your hardiness zone will help you determine what plants will survive in your climate, as well as when to plant them. On your garden map, write down your average last frost date in spring, as well as your average first frost date in autumn. The number of days between these two dates is the length of your growing season.
Using the four cardinal directions you wrote down on your map, as well as the surrounding structures, mark the areas of the garden that will receive soft morning light, and the areas that may see intense afternoon sun. Be sure to consider what structures will offer shade and what structures will radiate heat in the afternoon light. South and west facing gardens, as well as fully exposed gardens, often receive 6-8 hours of sunlight each day, which is necessary for growing fruit-producing crops. Beware that west facing gardens often get the brunt of intense afternoon sun which can be deadly for certain plants. North and East facing gardens, as well as gardens that have structures that inhibit direct sunlight, tend to be more shady. Gardens with partial shade are great for growing tender leafy greens and delicate herbs.
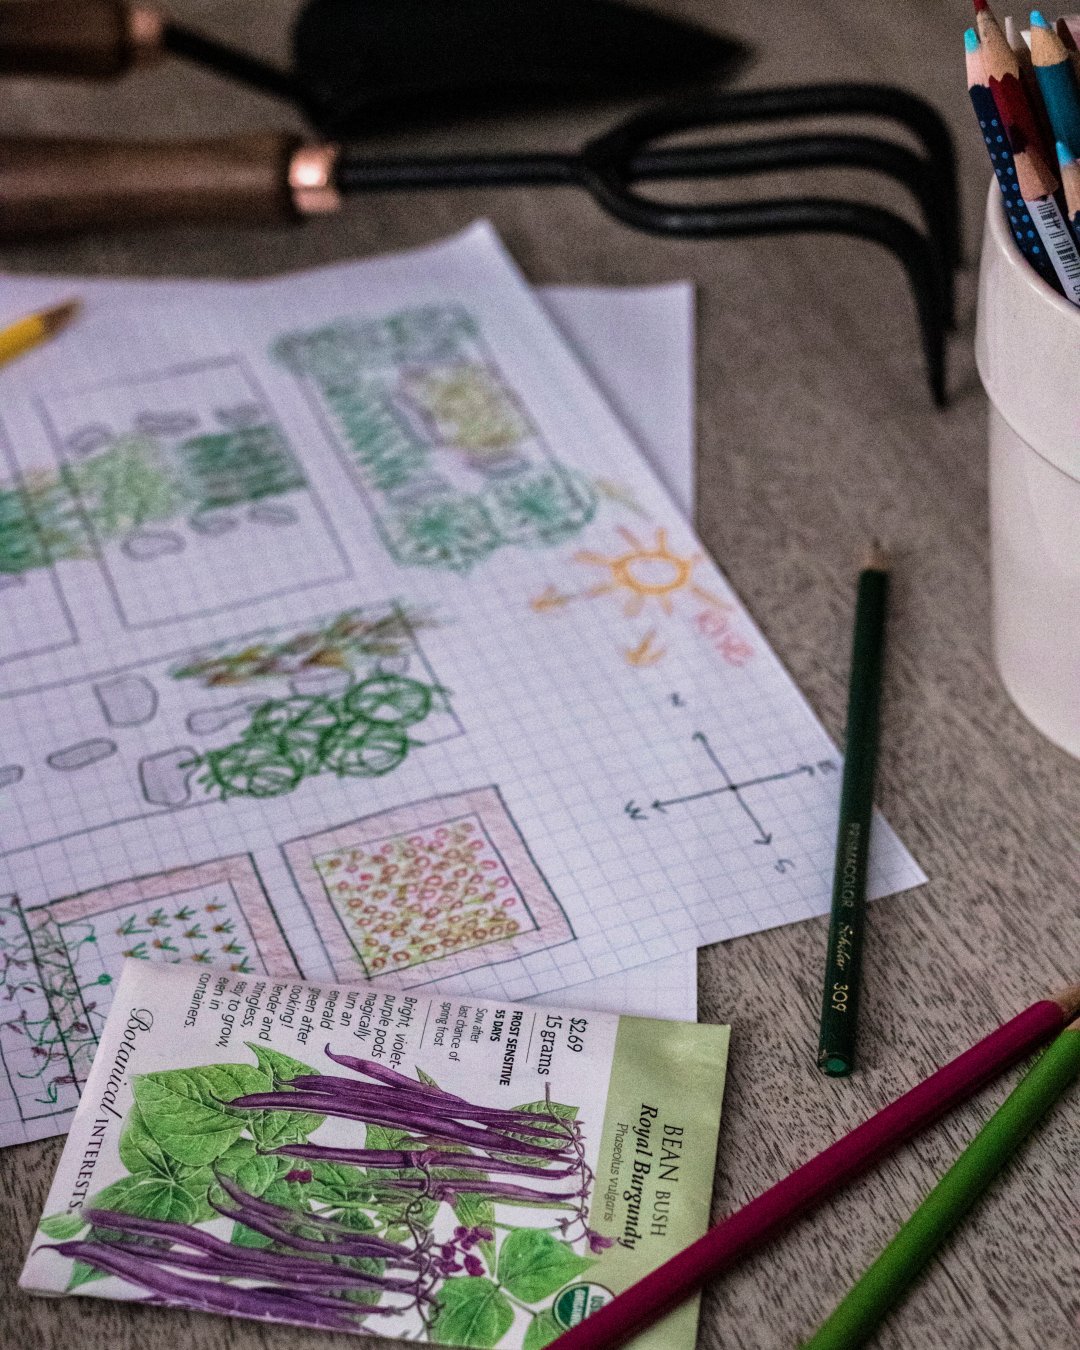
Step 3: Choose what to plant
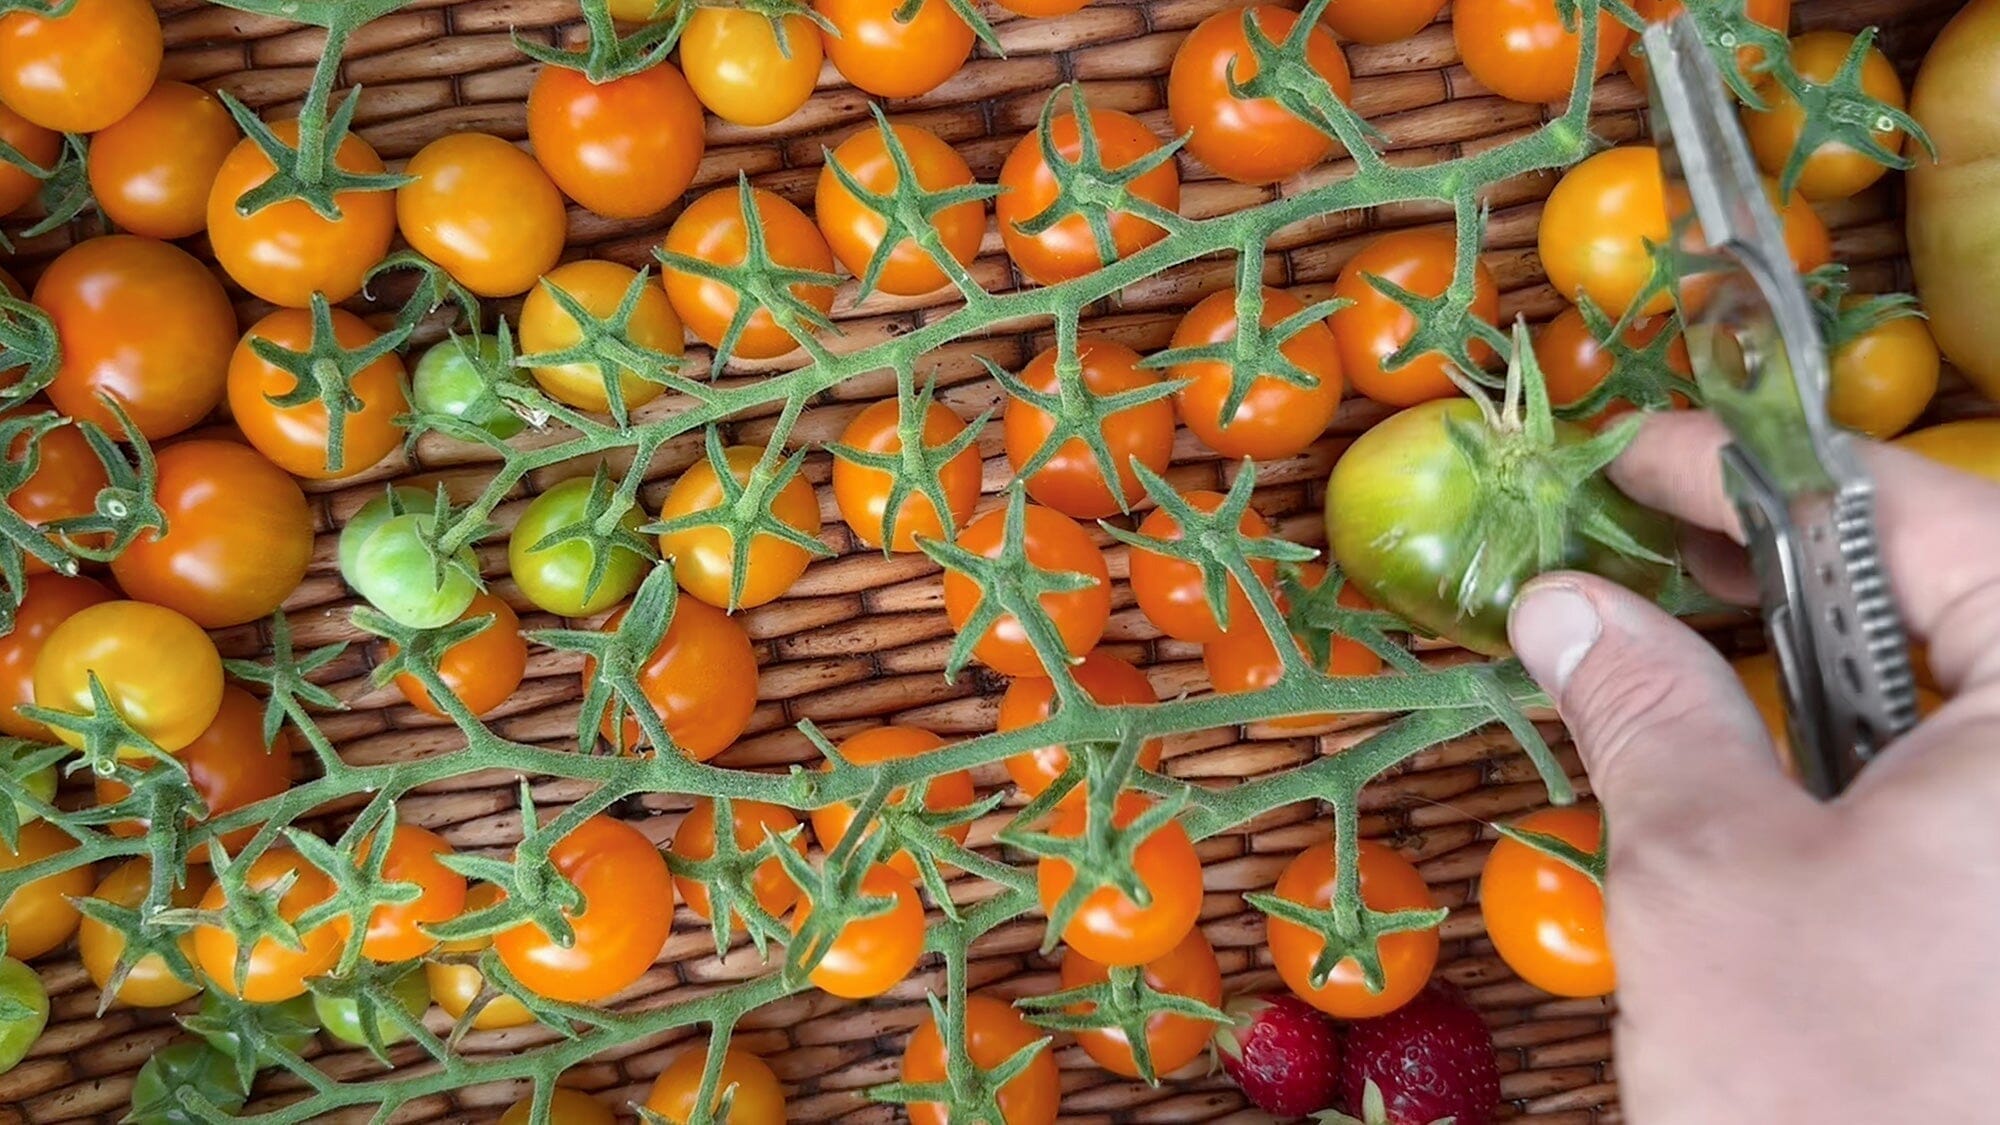
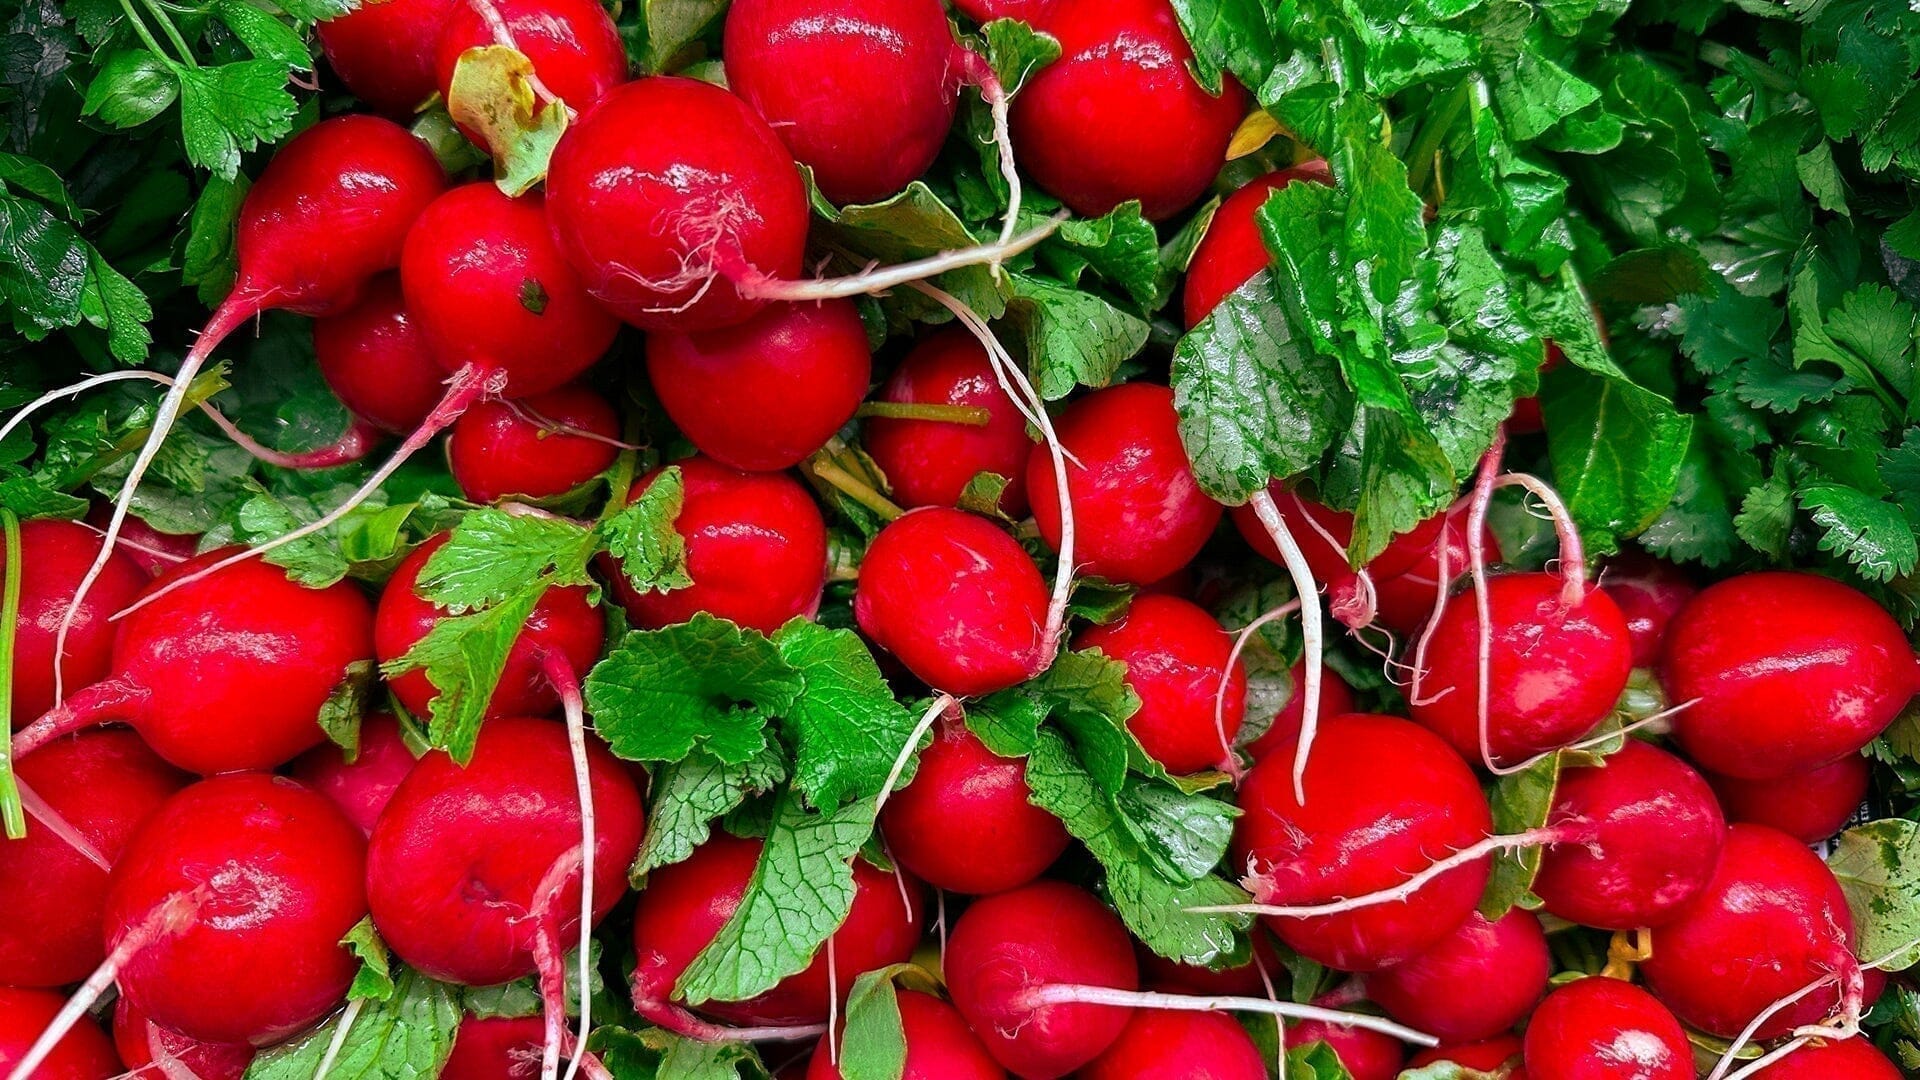
Start by dreaming up all the plants that you want to eat. If you don’t care for certain crops then there’s no sense in growing them. I also like to consider what organic vegetables can easily and affordably be sourced from local farmers. If it’s possible to get your favorite roma tomatoes for a bargain at the farmers market, then those are also not necessary to spend time cultivating. Instead, opt to grow your favorite produce that might be harder to come by. Also, spend some time doing cold hard math. For example, I figure out how much I might spend per bushel of spinach from the grocery store per week ($3.89), and multiply that by how many weeks make up my summer and autumn. (It’s a lot.) Then I compare that cost versus one seed packet ($1.99) that provides enough spinach seeds to sow every month through the end of summer. That cost, plus a little TLC is definitely worth it.
When you flip through seed catalogs or shop at your local nursery, read the labels and eliminate the plants that won't thrive in your garden based on climate, sun exposure, and length of growing season. Additionally, look for how much space is needed around each plant to know how much space it will take up in your garden bed. For example, carrots require about two inches in diameter of space around the taproot to grow well, so it’s possible to plant about 16 carrots per one square foot in the garden.
Step 4: Add trellises to grow vertically
Now that you’ve dreamt up or purchased seeds for all the plants you’ll grow you can chart out where you’d like to add support structures. Providing trellises for vine-growing crops is a great way to free-up ground space in garden beds as well as add architectural flare to your garden design. Trellising helps pull heavy crops like squash, or zucchini, off the ground where they can easily rot and deform. Trellising also provides shade for low growing plants depending on the placement. In a garden where lettuces might fry in the sun of a hot afternoon, a trellis laced with the large leaves of a pole bean could block the sun and help those tender greens survive longer.
This early in your gardening adventure you have time to dream up just how you might make a trellis a focal point in your garden. I’ve seen bamboo trellises turned into green bean teepee rooms and walkway arches streaming with gourds and pumpkins.

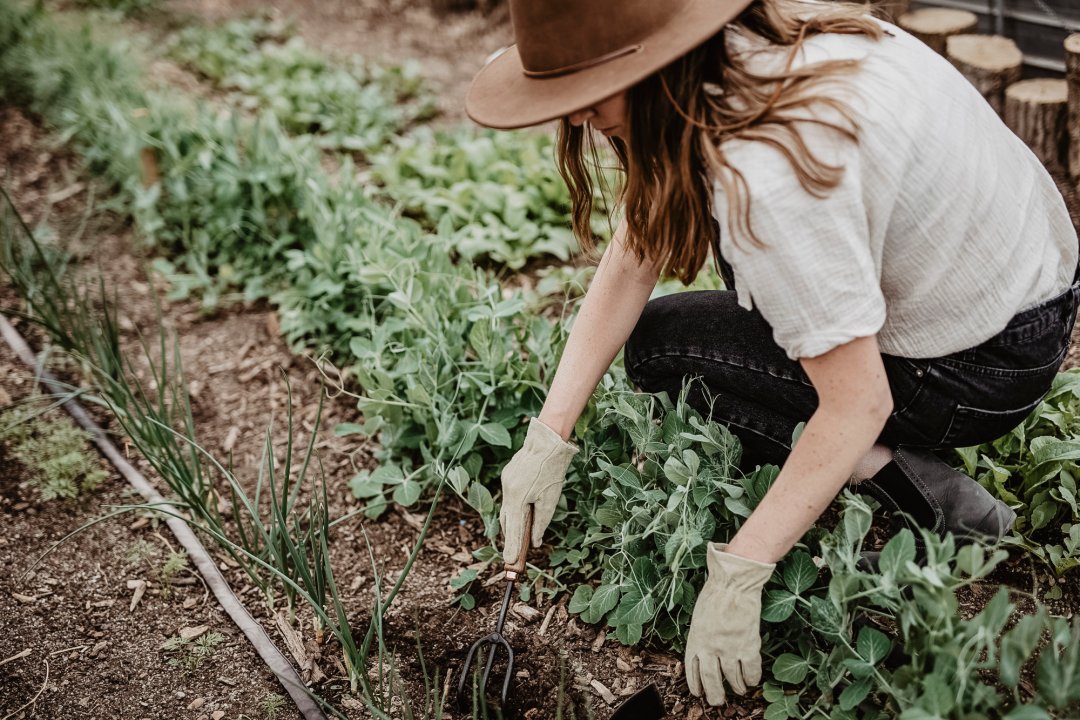
At this point, you’ve done just about as much of the dream work and planning as can be done. (And you’ve probably gotten to know your garden pretty well in the process.) Now just bide your time until the ground thaws. This year’s gardening adventure will be here before you know it.
>> Want more gardening tips? Read about Moon Gardening here
ABOUT
Brianne Dela Cruz is a master gardener, wild forager, campfire foodie, and acclaimed writer and photographer. From her home in Salt Lake City, she teaches online gardening and foraging courses for modern folks and budding naturalists as well as hosts seasonal community gatherings. Brianne's blog and online school, Gather & Grow, is a community of folks exploring the intersection between nature and personal growth by discovering ways to slow down and nourish themselves with nature.